Decide where the curtains should end
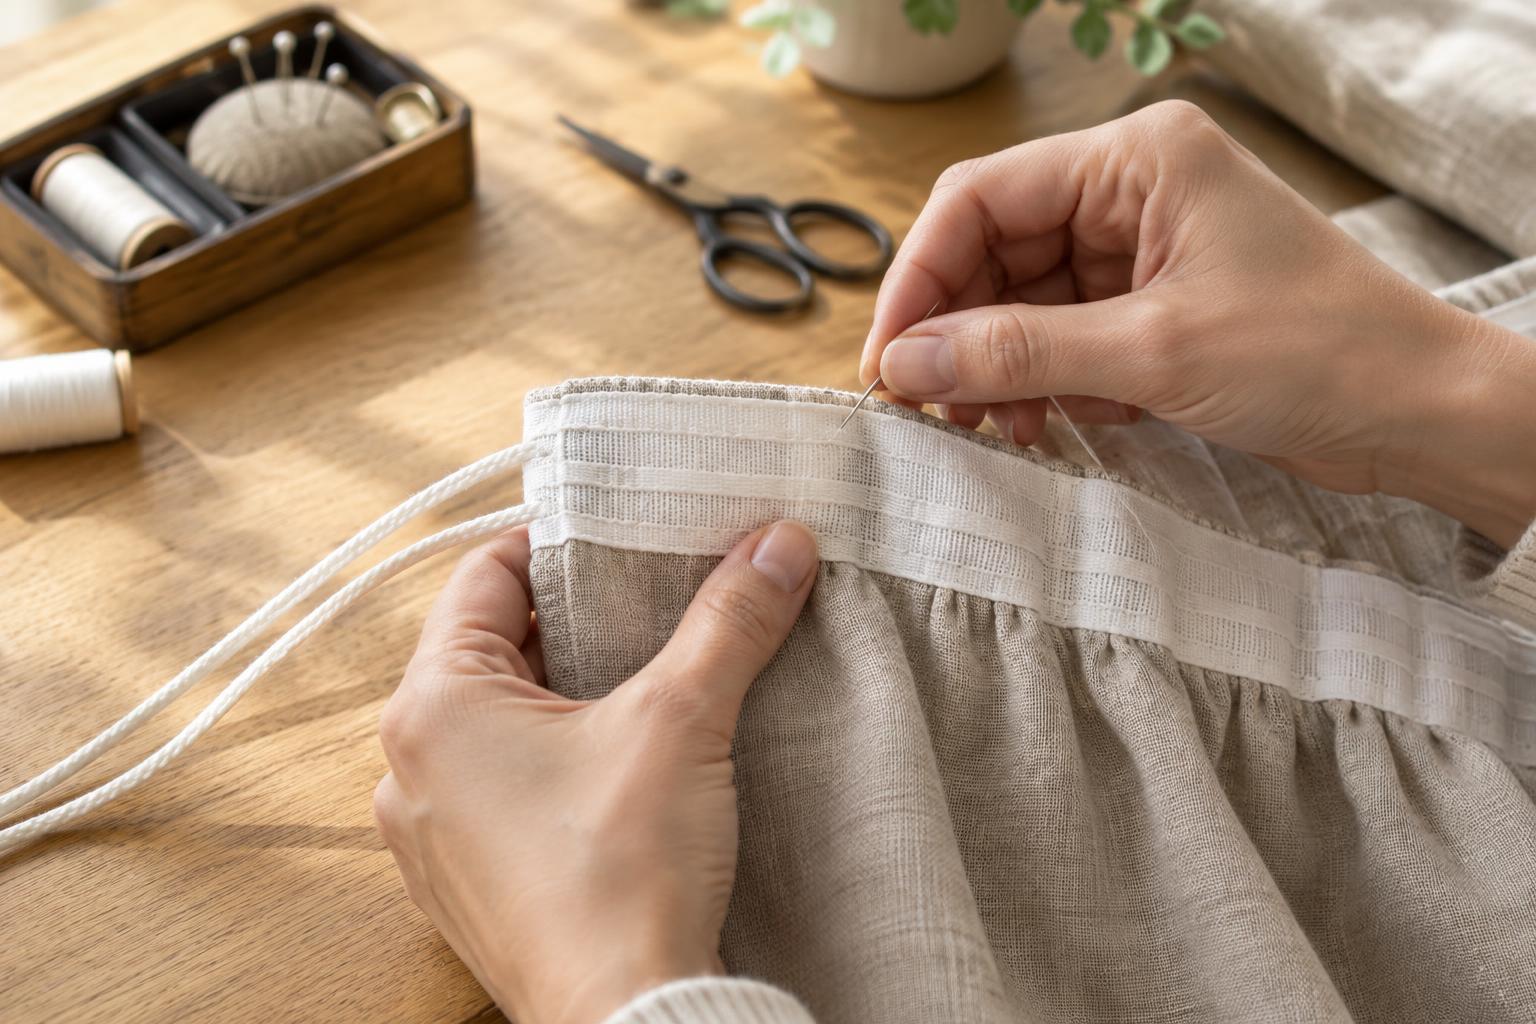
Hang the curtains on the rod or track you plan to use before taking a measurement. Rings, hooks and header styles all affect where a panel sits, so measuring fabric on a table alone can give you the wrong finished length. Let the panels hang for a while, especially if they were folded in storage, then check their position at several points across the window.
Choose a finished edge that suits the room. Curtains that stop just above the floor are easier to keep clear of dust and routine cleaning. A slight break at the floor gives a softer look but requires more attention when vacuuming. If a floor or rod is uneven, measure each panel in its own hanging position rather than assuming every panel needs the same amount removed. Mark the intended bottom edge with pins or removable fabric chalk.
Prepare the fabric and calculate the allowance
Check the care label before washing or pressing. If the fabric is washable, laundering it as directed before hemming helps avoid shortening it only to have it shrink later. For dry-clean-only or delicate fabric, do not wash it just to prepare for sewing. Press out fold creases using a heat setting suitable for the material; test an inconspicuous area first if you are unsure how it responds.
For a simple double-fold hem, decide how deep you want the finished fold. A 2-inch fold, for example, needs 4 inches of fabric below the marked finished edge: 2 inches for the first fold and 2 inches for the second. Mark a cutting line 4 inches below your finished-length marks. Before cutting, confirm that the panel has enough fabric for that allowance. If it does not, use a narrower hem or unpick the existing hem to recover fabric. Keep the top edge aligned as you mark, and check that your cutting line is level.
Fold, press and pin the new hem
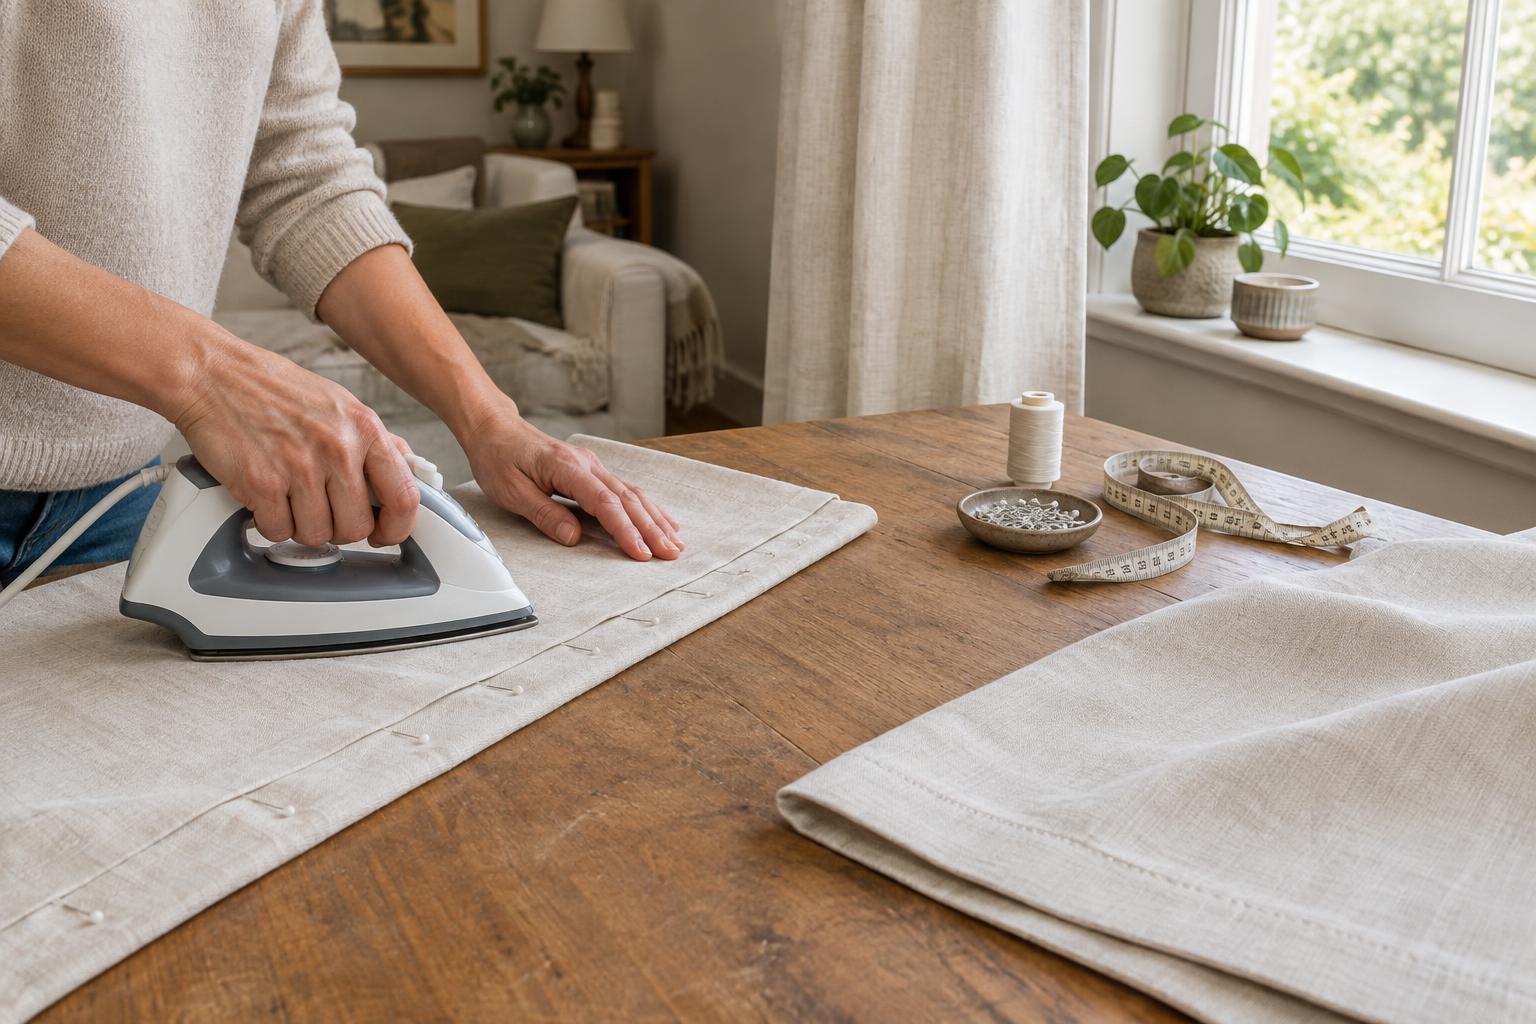
Take the panel down and lay it on a clean, flat surface. Cut along the cutting line, working slowly so the fabric does not shift. Fold the raw bottom edge up by half the allowance and press it. Fold it up by the same amount again, enclosing the raw edge, then press and pin. Measure from the curtain’s top edge to the new bottom at several points before sewing. That check is especially useful with long panels, where a small change in the fold can become noticeable when they are hung.
If the fabric has a bold horizontal pattern, look at the folded hem from the front before stitching. The print near the bottom of paired panels should appear balanced when they hang together. A few inches of extra length may let you adjust pattern placement, but do not sacrifice the finished length simply to make a motif match.
Sew the hem to suit the fabric
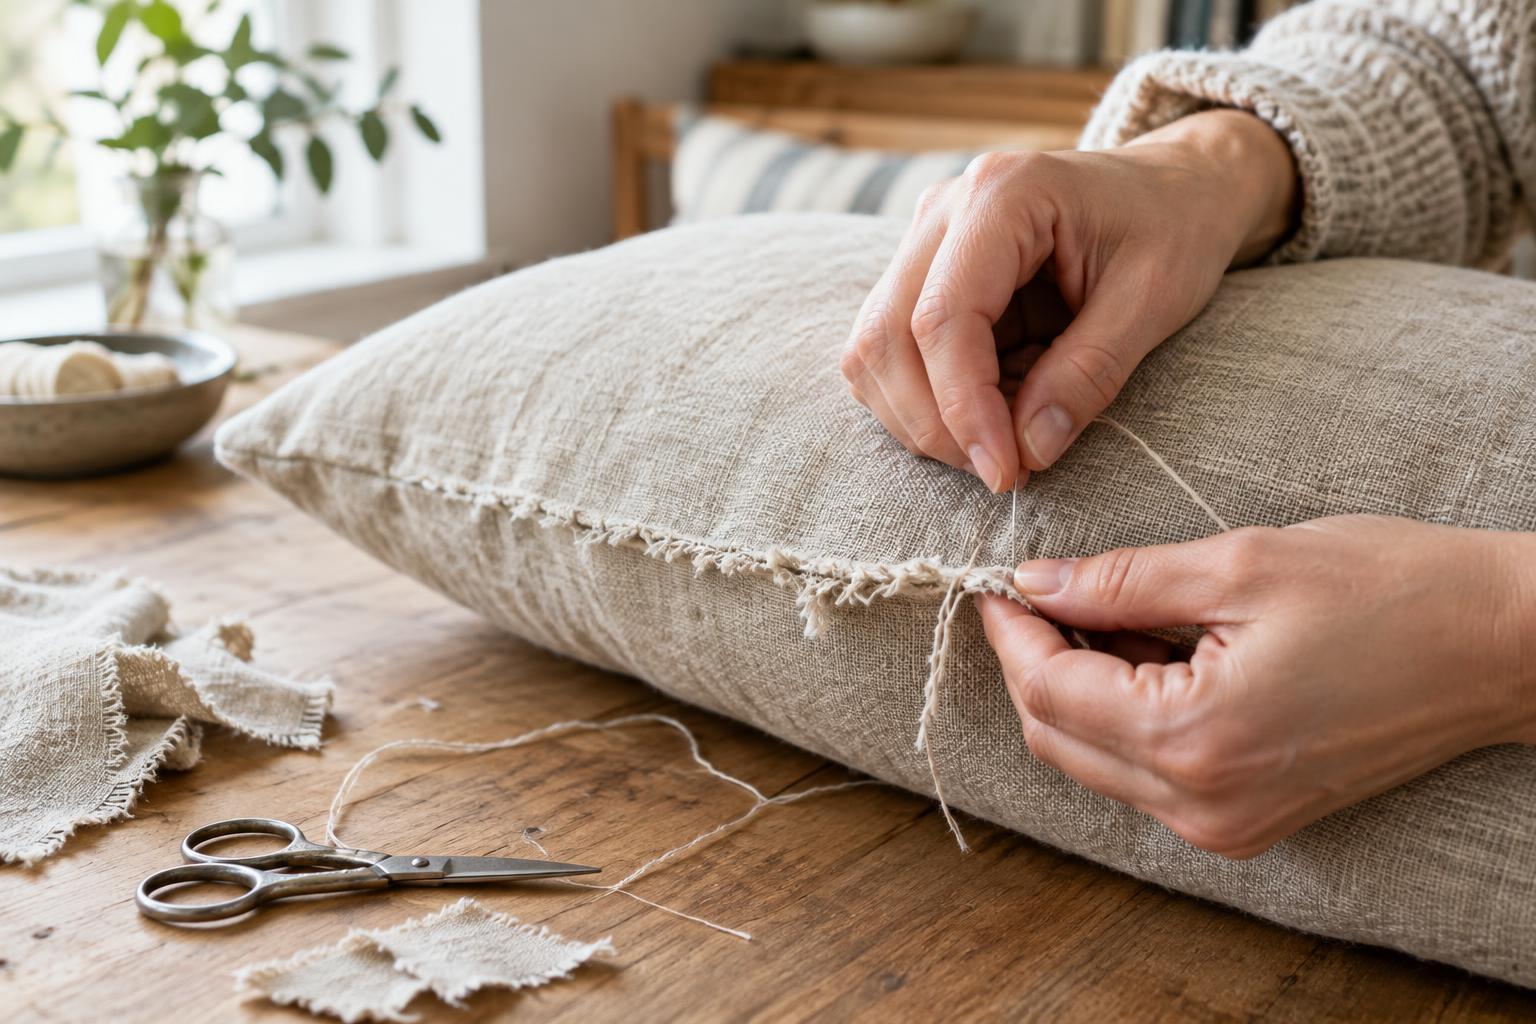
For a straightforward machine-sewn hem, stitch close to the upper folded edge using a thread that blends with the fabric. A straight stitch works for many woven curtains. Sew at an even pace without pulling the panel through the machine; the weight of a long curtain can tug at the stitching, so support the excess fabric on the table. Backstitch briefly at each end, or secure the threads according to your machine’s instructions.
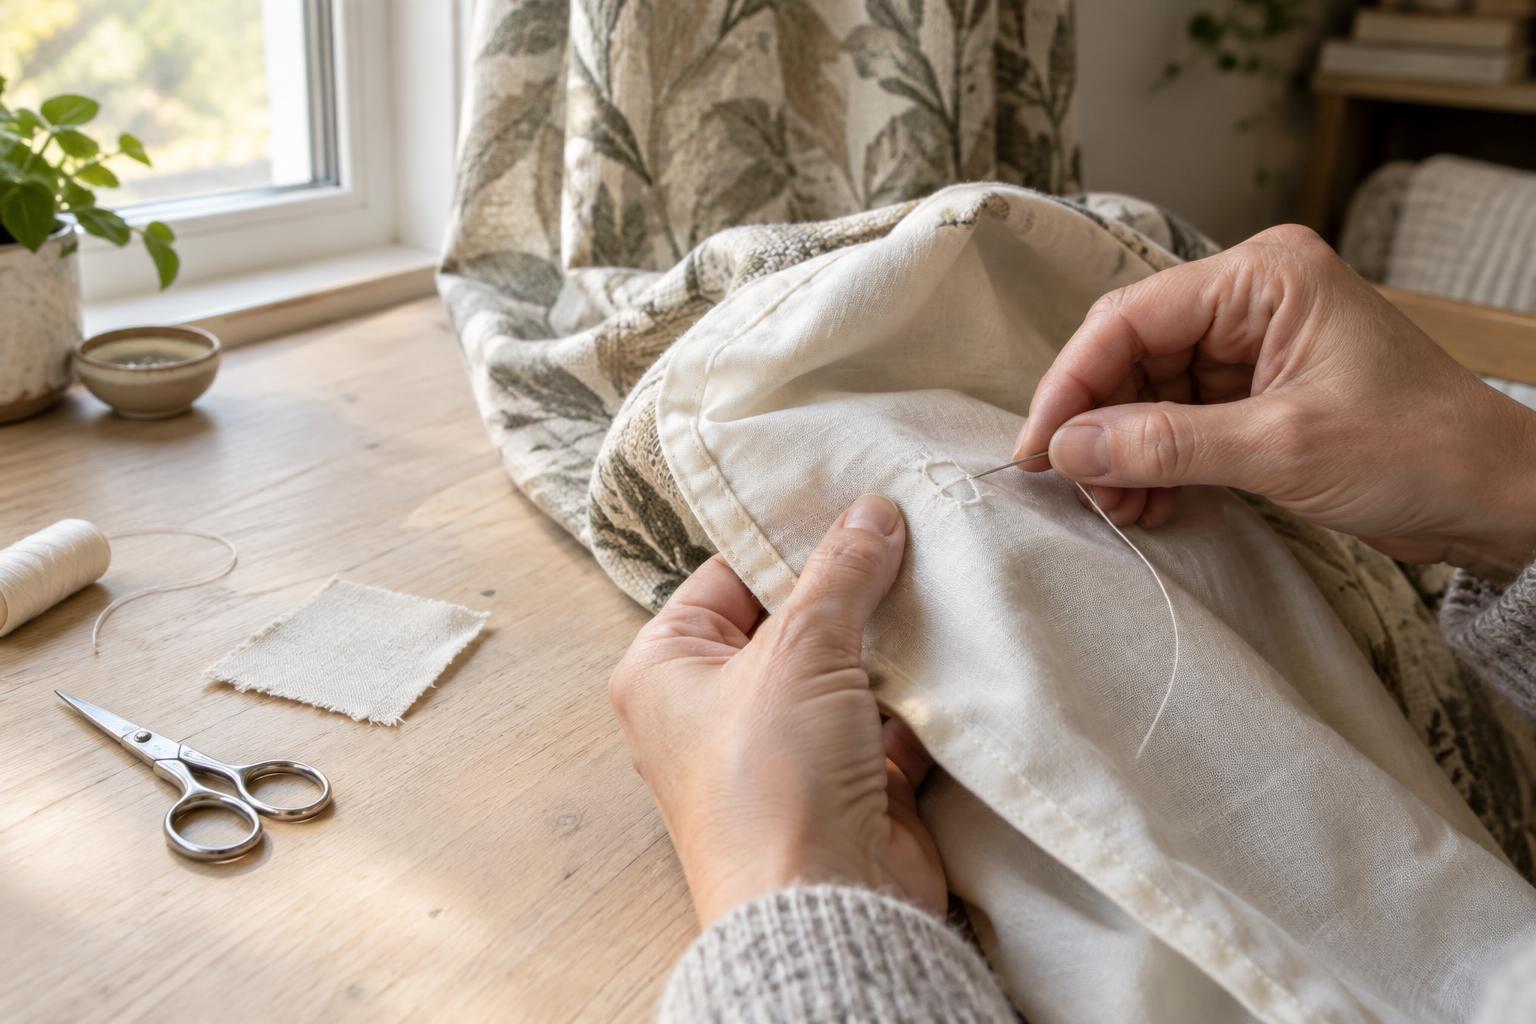
If you want stitching to be less visible from the front, hand-sew with small blind stitches, picking up only a thread or two of the curtain fabric at each stitch. A machine blind-hem stitch is another option if your machine has one; try it on an offcut first. Press the finished hem gently rather than dragging the iron across it, which can distort the fold.
On a lined panel, the lining may need its own shorter hem so it does not show below the face fabric. Separate the lining from the outer fabric only if the panel’s construction allows it, and leave enough ease that the two layers can hang freely. If the original hem contains weights, remove them before cutting and sew them securely into the new hem corners where appropriate.
Hang the panels and make a final check
Rehang the curtains and view them from across the room. Check the bottom edge in daylight and with the curtains both open and closed. If one area looks uneven, first confirm that its hooks or rings are set at the same height; the hem may not be the cause. Small discrepancies can sometimes be corrected by adjusting a hook or repressing a fold.
Once you are satisfied, trim loose threads and keep an offcut for future patching or stitch tests. A careful final check takes little time, and it is much easier than discovering a length difference after you have shortened a second panel to match the wrong mark.