Check the closure before you begin
A missing button can leave the opening of a duvet cover gaping, but the repair is usually straightforward. First, turn the cover inside out or spread its opening flat so you can see how the closure is built. Some covers have a folded placket that hides the buttons; others have buttons sewn visibly along one edge. Find the empty buttonhole and look for old stitch holes or loose thread on the opposite edge. These clues show where the original button sat.
Check the fabric around that spot, too. If it is torn or badly frayed, sewing a button directly onto the weakened area may not hold for long. Mend the damage first with small stitches or a fabric patch on the inside. If the closure uses snaps rather than buttons, it needs a different repair.
Gather a suitable button and thread
You will need a hand-sewing needle, thread, scissors and a replacement button. A pin, washable fabric marker or small piece of contrasting thread can help mark the position. If the cover has other buttons, match their size and thickness as closely as you can. The replacement should pass through the buttonhole without forcing it, yet be large enough not to slip back out easily. A spare button from the cover is ideal, but a similar button will work even if its color is not an exact match.
Choose a sturdy all-purpose thread close to the fabric color. Doubled thread makes the job quicker and gives the attachment several strands of support. Cut a manageable length rather than an especially long one, which is more likely to tangle. If the buttonhole is tight, check how the replacement fits before you start sewing.
Mark the position and sew the button
Close the placket as it should sit in use, aligning its ends and any nearby buttons. Put the replacement button through the empty buttonhole and mark its center on the fabric beneath. Then open the placket again. This test fit matters: copying old stitch holes without checking the alignment can leave the opening pulled out of shape.
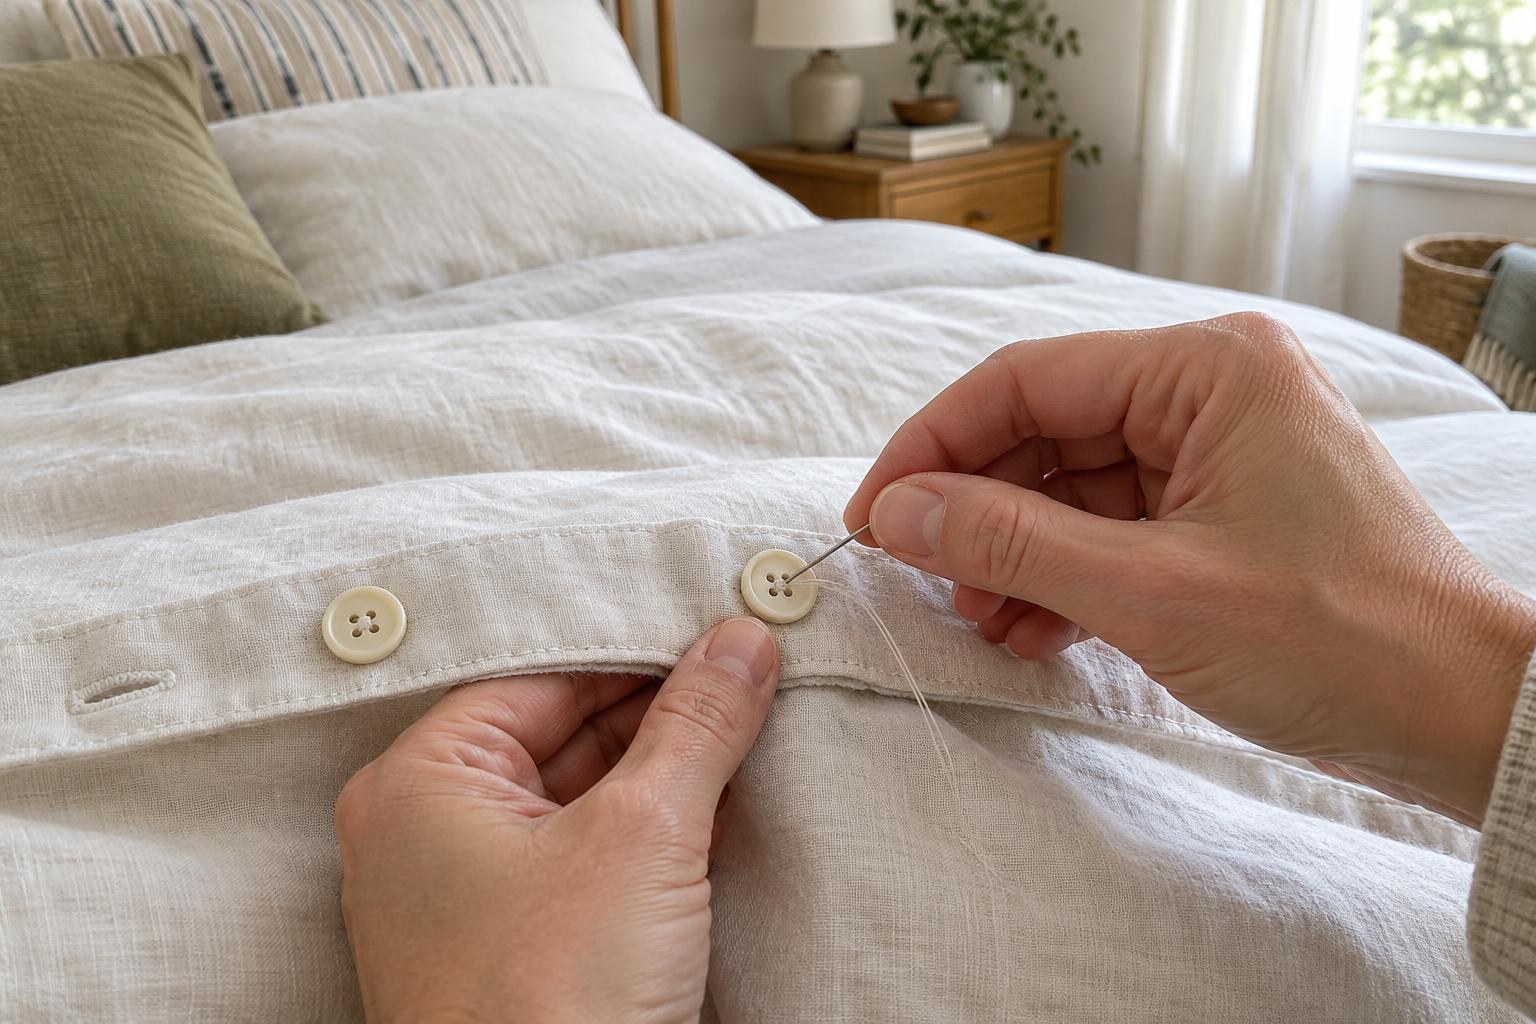
Thread the needle, knot the end and bring it up from the underside of the fabric at your mark. Work through only the layer or folded placket that held the original button; do not accidentally sew the front and back of the duvet cover together. Pass the needle through a hole in the button and back down through another hole and the fabric. Repeat several times. For a four-hole button, sew across both pairs of holes. Keep the button centered over the mark without pulling every stitch so tight that it puckers the fabric.
A little space beneath the button helps the buttonhole sit comfortably, particularly on a thick folded placket. If needed, place a pin across the top of the button while stitching, then remove it. Bring the needle up beneath the button and wrap the thread around the stitches between the button and fabric a few times to form a short thread shank. On a thin cover with a loose-fitting buttonhole, you may need very little space.
Secure the thread and test the closure
To finish, take the needle to the underside of the fabric. Make a few small stitches in the same area, then pass the needle through a loop of thread and pull it snug to form a knot. Trim the loose end, leaving a short tail rather than cutting flush against the knot. If the button sits on a hidden placket, check that your finishing stitches have not caught another layer.
Button the cover and gently tug the closure into its normal position. The button should go through the hole without straining it, and the edges should meet without a noticeable twist. If the button is hard to fasten, the replacement may be too large or sewn too tightly against the fabric. If the opening still gaps, check its placement against the neighboring buttons before adding more stitches.
Help the repair last
Before laundering the cover, look over the rest of its closure. Reinforcing a loose button now may save another repair later. During routine use, unfasten buttons rather than pulling the opening apart; repeated tugging can weaken both the stitches and the buttonholes. A neatly positioned, securely sewn button should let the cover close as intended without drawing attention to the repair.