Check the seat before you begin
A dining chair with a removable seat is a good starting point for upholstery because the work happens on a separate piece rather than on the whole chair. Turn the chair over and look for screws that fasten the seat to the frame. If the seat is glued in place, built into the frame or difficult to remove without force, this method may not suit it. Photograph the underside before taking anything apart so you can see where the screws and seat were positioned.
Remove the screws, keep them together and lift off the seat. Check that the base is firm and flat, without cracks, loose layers or crumbling edges. Also inspect the padding: foam that has become lumpy or no longer springs back may need replacing. A new cover will not correct a weak base or worn-out padding. If the seat or chair frame is unstable, deal with that problem before re-covering it.
Gather materials and choose a fabric
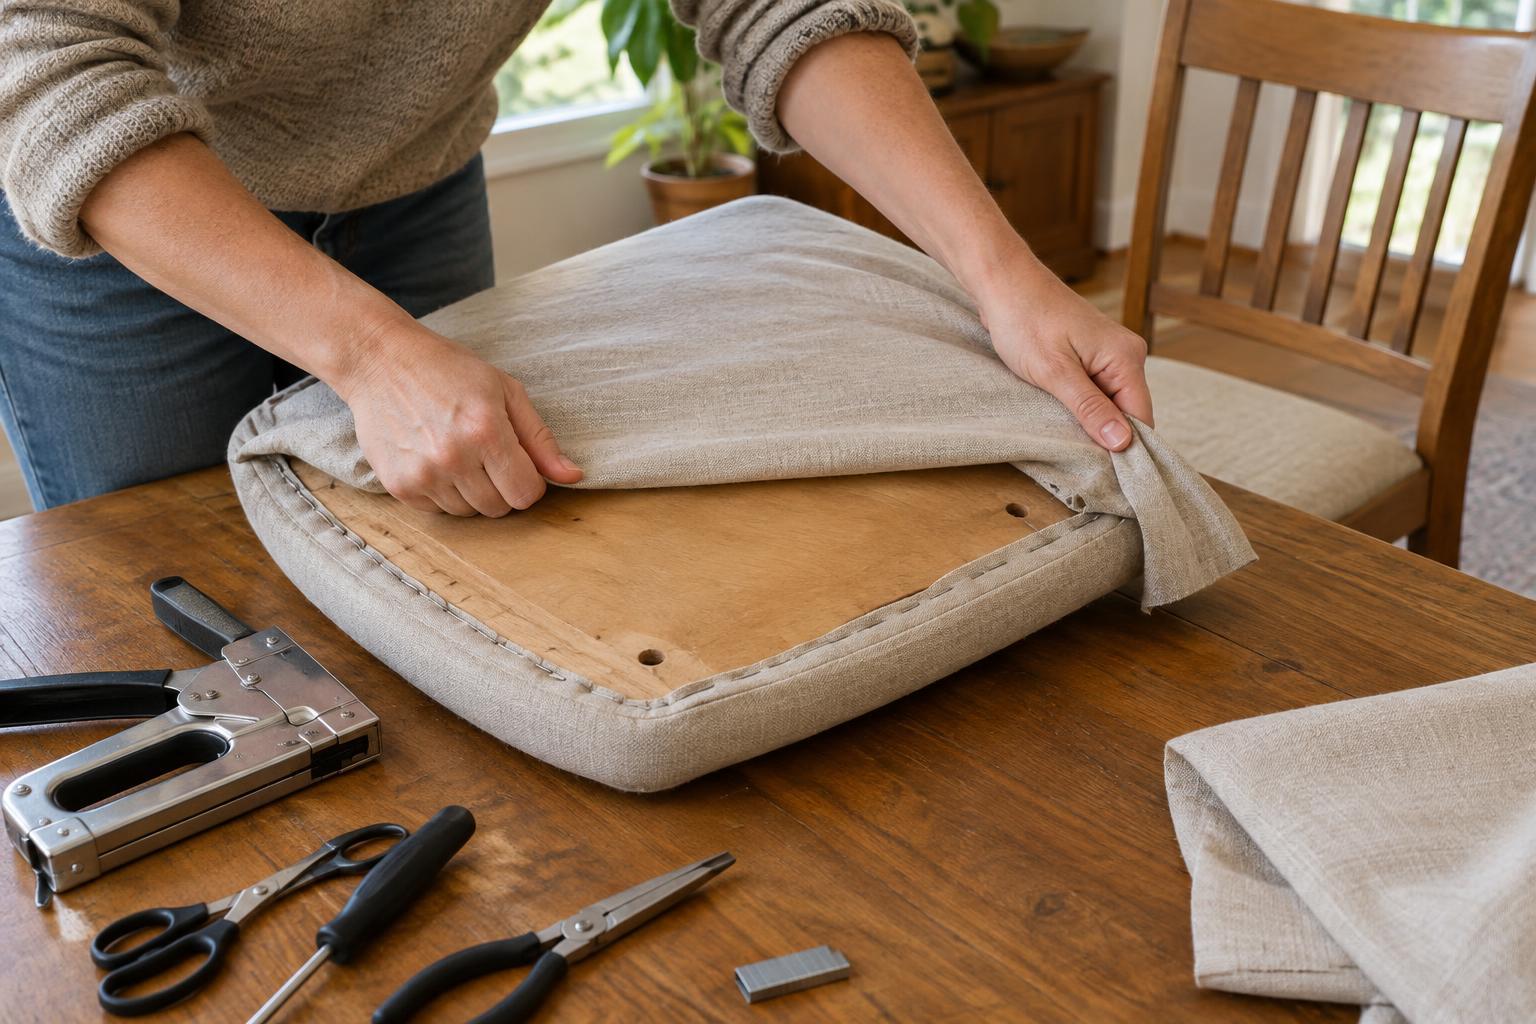
You will need a screwdriver, a staple remover or pliers, scissors, a measuring tape and a staple gun with staples suited to the seat base. Have a small container for old staples and screws. If you are replacing padding, gather upholstery foam and a layer of batting to soften its edges. Wear eye protection while removing staples, and keep your fingers clear of the staple gun’s outlet.
Choose a fabric that feels comfortable and is sturdy enough for regular seating. An upholstery fabric is generally a more suitable choice than a thin craft cotton. Think about spills and the way the chair is used: a washable-looking fabric is not necessarily washable once it is attached over foam and wood, so check its care information before buying. Large patterns, stripes and checks take extra attention because any shift in alignment will be easy to see.
Measure the seat base, then allow enough fabric to travel over the padding, around each edge and onto the underside for stapling. If several chairs are being covered, measure each one rather than assuming their seats are identical. Buy enough to keep a patterned design facing the same way on every chair.
Remove the old cover and prepare the base
Work on a protected table. Turn the seat upside down and carefully lift out the old staples, pulling the fabric away as you go. Keep the old cover intact if possible: it can help you estimate the shape and size of a new piece, although you should still check the allowance against the padding you intend to use. Remove loose threads and any staples left protruding from the base.
If the existing padding is sound, you may be able to keep it. Otherwise, cut replacement foam to follow the seat base and lay batting over it to round off hard edges. Trim bulky batting so it can wrap under the seat without forming thick ridges. Before attaching the cover, set the seat back in the chair opening to check that the new padding will not make the seat too large to fit.
Stretch and staple the new cover
Place the fabric face down on a clean, flat surface. Center the padding and seat base on top, with the underside facing you. Check the direction of any pattern before you staple. Pull the fabric over the center of one edge and put in a staple; then pull it over the opposite edge and staple there. Repeat at the centers of the remaining two edges. This anchors the fabric while leaving room to adjust it.
Continue from the centers toward the corners, alternating between opposite sides. Pull firmly enough to smooth wrinkles, but not so hard that you distort the pattern or compress the padding unevenly. Pause often to turn the seat over and inspect the top. If a line is crooked or a crease appears, lift the nearby staples and adjust the fabric before adding more.
At each corner, smooth the fabric toward the underside and make small, tidy folds where needed. Keep the bulk away from the screw holes and from any edge that must sit closely against the chair frame. Staple the folds securely, then trim excess fabric while leaving enough material beyond the staples that it cannot easily pull free.
Reattach the seat and care for it
Check the underside for loose staples, covered screw holes and fabric that might catch on the frame. Position the seat as it was before removal and reinstall the screws. Tighten them so the seat sits securely, without forcing a screw that does not line up or driving it into a new area of the base. Set the chair upright and check for wobbling or movement before using it.
For everyday care, remove crumbs with a soft brush or vacuum attachment and blot fresh spills rather than rubbing them into the fabric. Follow the fabric’s care guidance for any further cleaning, and test a cleaning method on an inconspicuous area first. A neat cover, sound padding and a secure base will do more for a chair’s comfort than fabric choice alone.