Check the cover before you begin
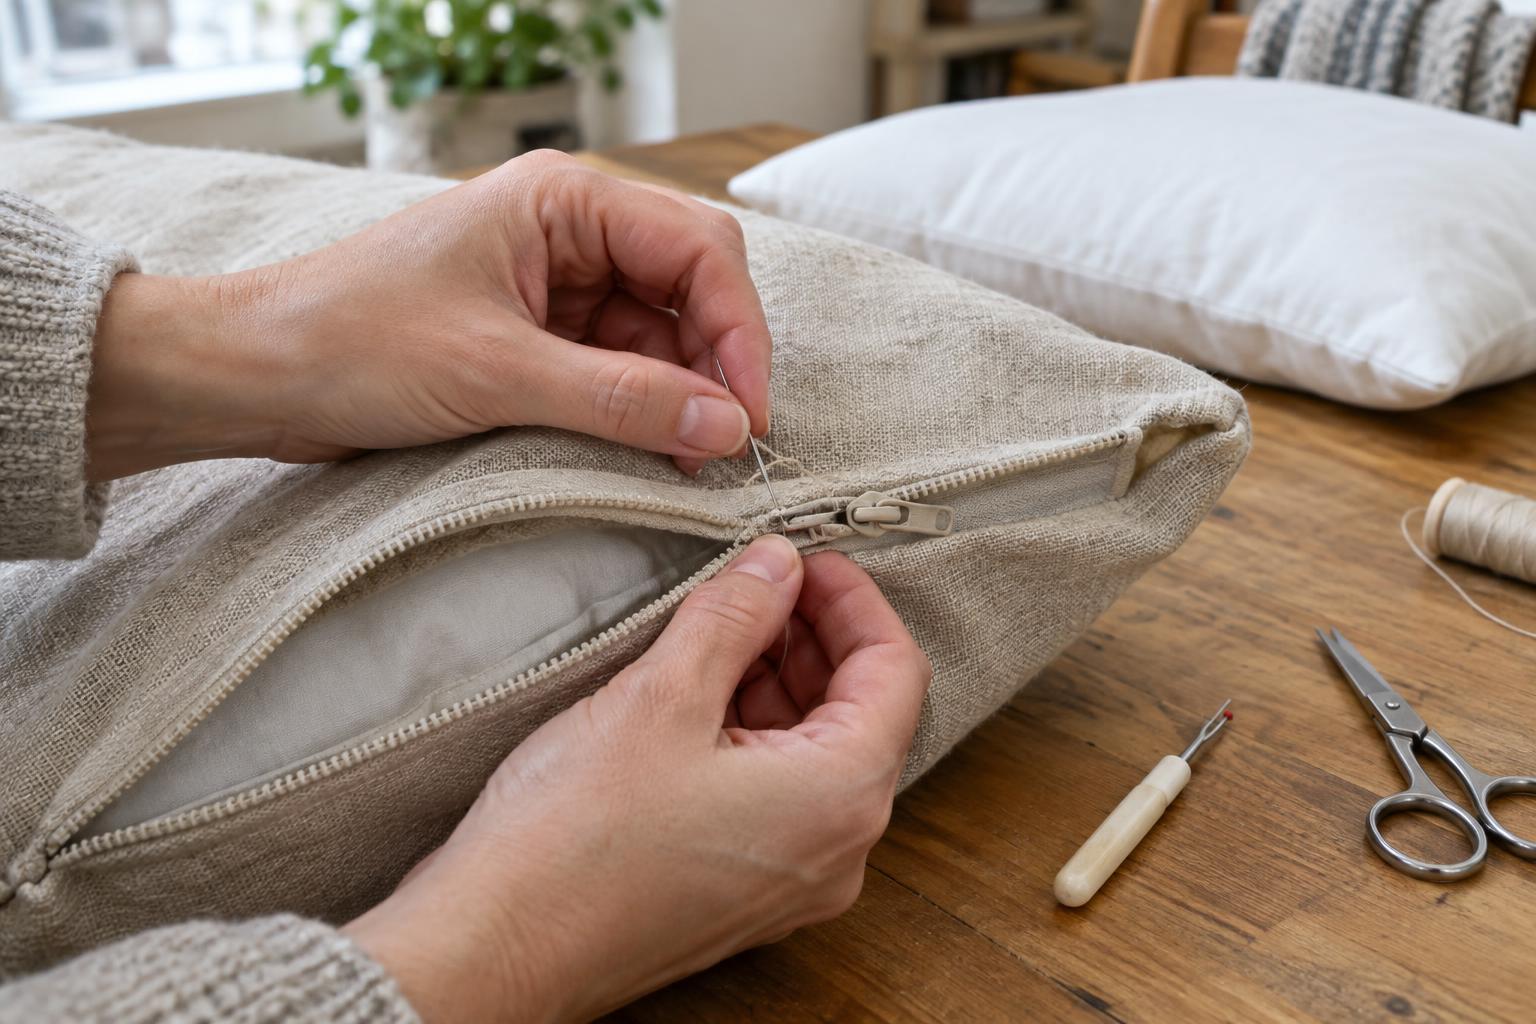
A zipper that separates, catches or will not close can make an otherwise sound cushion cover difficult to use. Before replacing it, check whether the problem is the zipper itself. A thread caught in the teeth may be removable, while a missing tooth, damaged tape or broken slider usually makes replacement the more dependable choice. Examine the fabric around the opening, too. If it is torn or badly weakened, reinforce or mend that area before sewing in a new zipper.
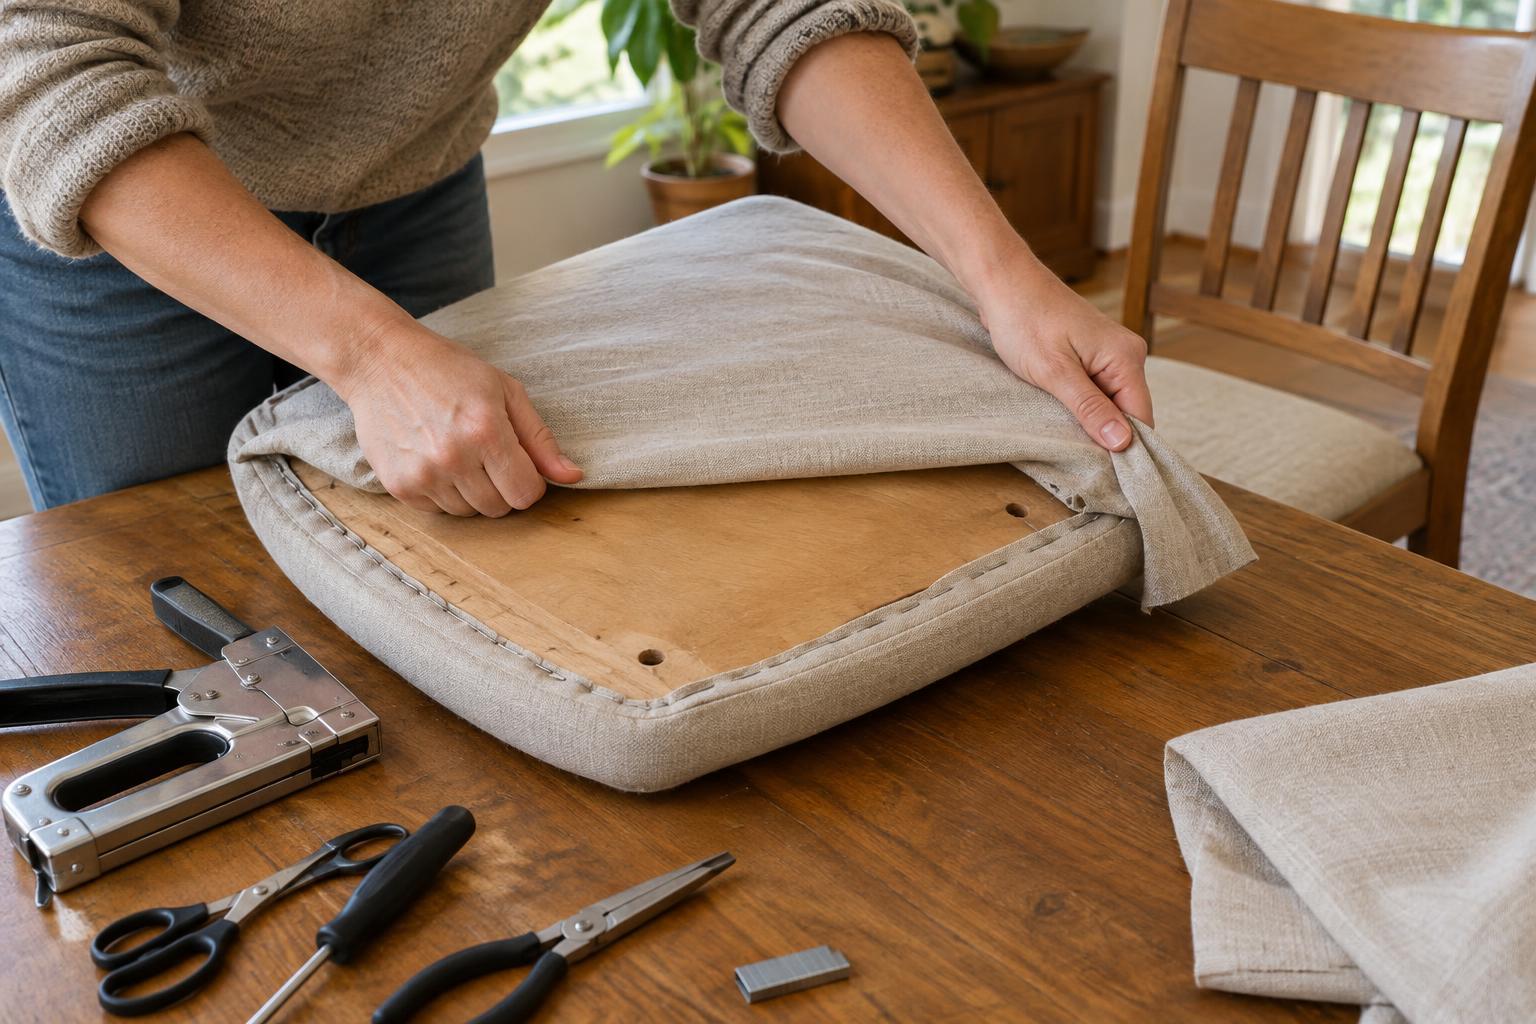
Remove the cushion insert and turn the cover inside out. Take a clear look at how the existing zipper is attached: it may sit behind a fabric flap, or its teeth may be visible along the seam. Photographing the construction before you unpick it can help you put the cover back together in the same way. If the cover has piping or a lining, note where those layers meet the zipper seam.
Choose a replacement and gather your tools
Measure the old zipper from the top stop to the bottom stop, rather than measuring the full length of its fabric tape. Choose a replacement with a similar usable length and a weight suited to the cover. A lightweight zipper may suit a small decorative cushion, while a frequently used seat cushion may benefit from a sturdier one. A longer zipper can sometimes be shortened, but it needs a secure new stop; choosing the right length from the start keeps the job simpler. Match the color if the zipper will show.
You will need a seam ripper, matching thread, pins or sewing clips, and a hand-sewing needle or sewing machine. A zipper foot makes machine stitching close to the teeth easier. Keep a ruler and an iron nearby if the fabric can be pressed safely. Test the iron on an inconspicuous area and follow any care label, especially for pile fabrics, coatings or delicate fibers.
Remove the old zipper without stretching the seam
Find the stitches holding the zipper tape to the cover and cut a few at a time with the seam ripper. Work from the inside where possible, keeping the point away from the cover fabric. Pulling hard on a partly attached zipper can distort the opening or tear the fabric. If the zipper crosses a seam near piping, unpick only as much as you need to free the tape. Save any folded seam allowances so you can use their creases as guides.
Once the zipper is out, remove loose threads and lay the opening flat. Check that both sides are still the same length. If an edge has frayed, trim only loose fibers, then secure the edge with a suitable stitch or narrow binding without cutting away important seam allowance. Press the folds gently if the fabric allows it.
Sew the new zipper into the opening
With the cover inside out, place the closed zipper behind the opening. Center the teeth along the gap and keep the top and bottom stops within the usable opening. Pin or clip one side of the zipper tape to its seam allowance, then secure the other side. Check from the outside that the opening lies straight and, if there is a fabric flap, that it covers the zipper as intended. Baste by hand first if the fabric is slippery or bulky.
Stitch one side at a time, using the old stitch line as a guide when it is still sound. Keep the teeth clear of the needle and avoid sewing so close that the slider cannot pass. For hand sewing, use small, firm backstitches through the zipper tape and seam allowance, taking care not to make large visible stitches on the outside. Reinforce the ends of the opening, where pulling puts extra stress on the seam.
Test the repair and put the cushion back together
Before replacing the insert, close and open the zipper several times. If it catches, look for a fold of fabric or a stray thread near the teeth. Check that the cover lies flat on both sides of the opening and that the end seams are secure. It is easier to correct a crooked section now than after the cushion is filled.
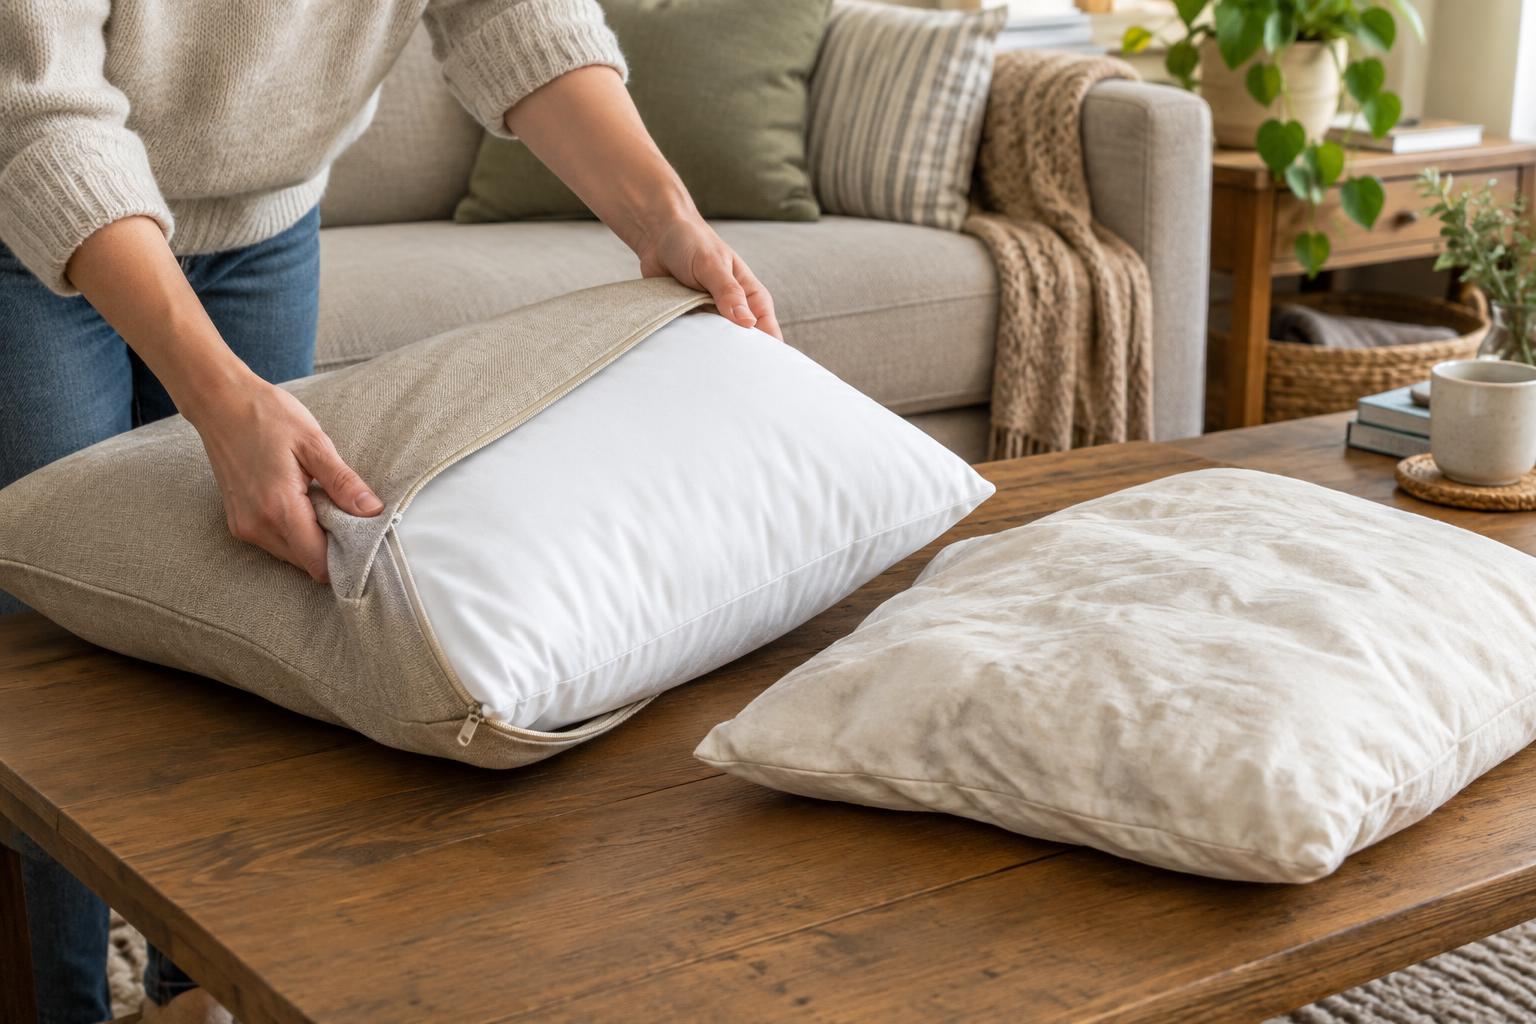
Fold or gently compress the insert as you return it to the cover, rather than forcing it through the opening. Guide the corners into place and close the zipper without pulling on the slider to draw the fabric edges together. For future care, open the zipper fully when removing the insert, and support the cover fabric as you operate it. That small habit can help protect the new stitching from unnecessary strain.