Find out what came loose
Chair cushion ties often take more strain than the fabric around them. A tie can pull away from the cushion, its stitching can loosen, or the tie itself can begin to fray. Before sewing, untie the cushion and examine both ties at each attachment point. A few missing stitches are a simpler repair than a torn cushion corner.
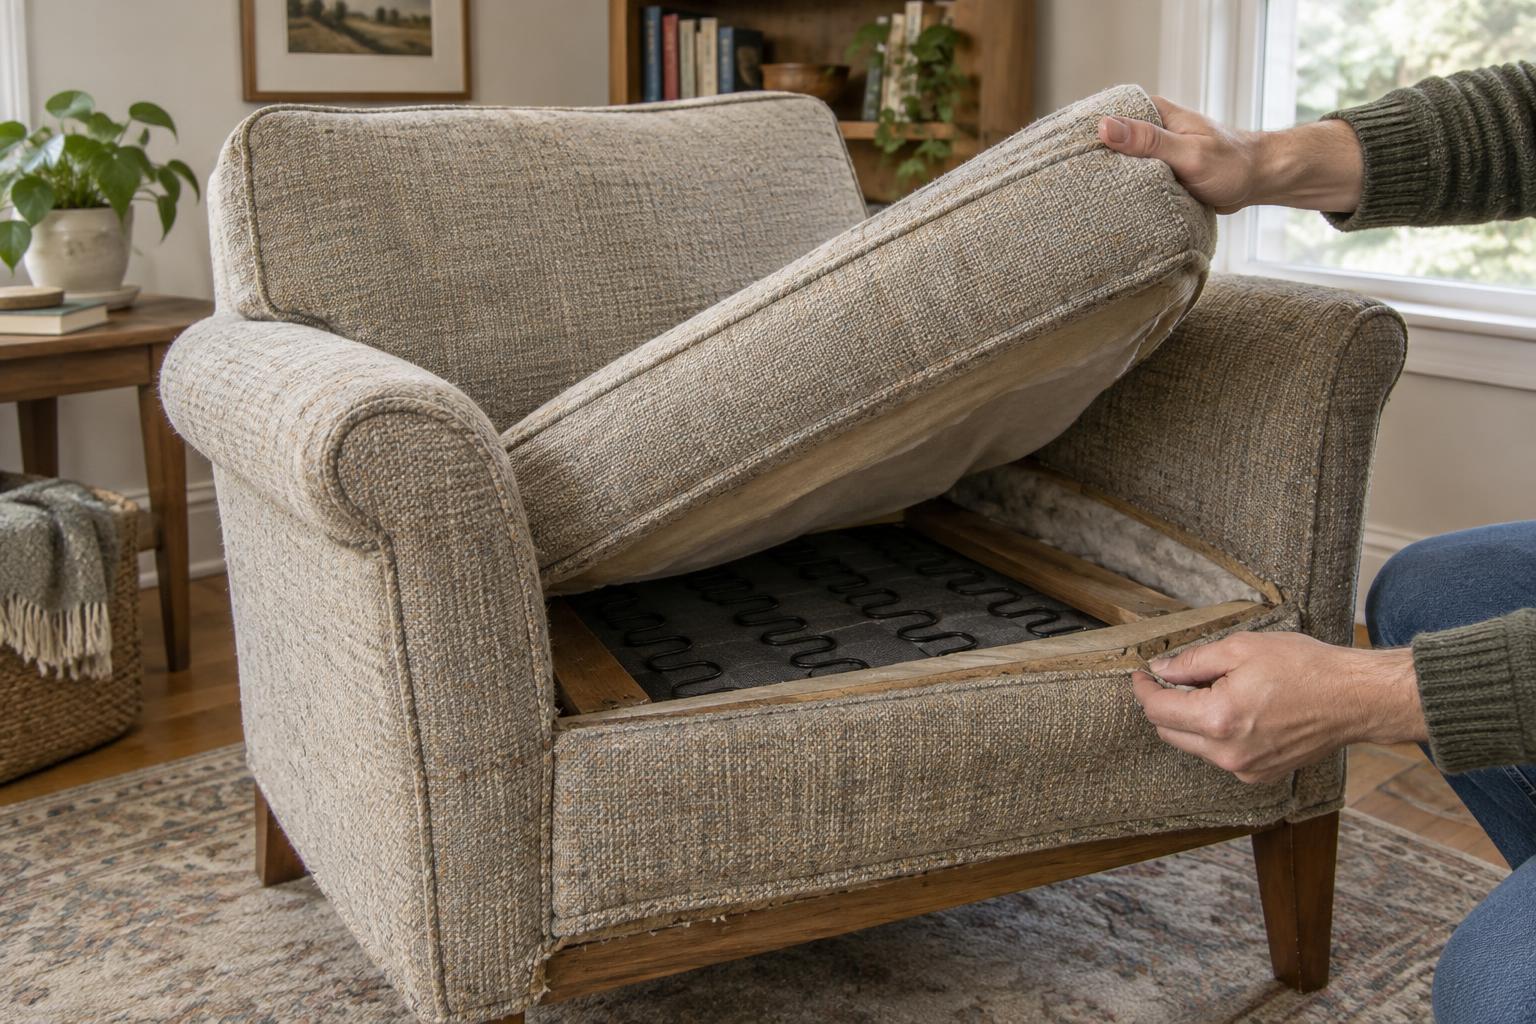
If the cushion has a removable cover, take it off and check whether you can reach the back of the damaged area. Also look at the matching tie on the other side. Its position and stitching can guide your repair, and it may need a few reinforcing stitches of its own. Check the care label before washing or pressing the cover, especially if you do not know how the fabric will respond.
Choose a repair that suits the damage
For a sound tie that has simply come unstitched, you will usually need a hand-sewing needle, strong thread in a suitable color, scissors and pins or clips. Cut away loose threads, but do not trim into the tie or cushion fabric. If the end of the tie is frayed, fold the worn end under to expose sound fabric. The tie will become slightly shorter, so compare it with its partner before you sew.
A torn attachment area needs support as well as new stitches. If you can reach the back of the fabric, place a small piece of sturdy woven fabric behind the tear, extending beyond its edges. Secure the patch with small stitches before reattaching the tie. If the corner is badly shredded or the cover cannot be opened without damaging it, a simple hand repair may not hold; replacing the cover or seeking help with the sewing may be more practical.
Sew the tie back onto the cushion
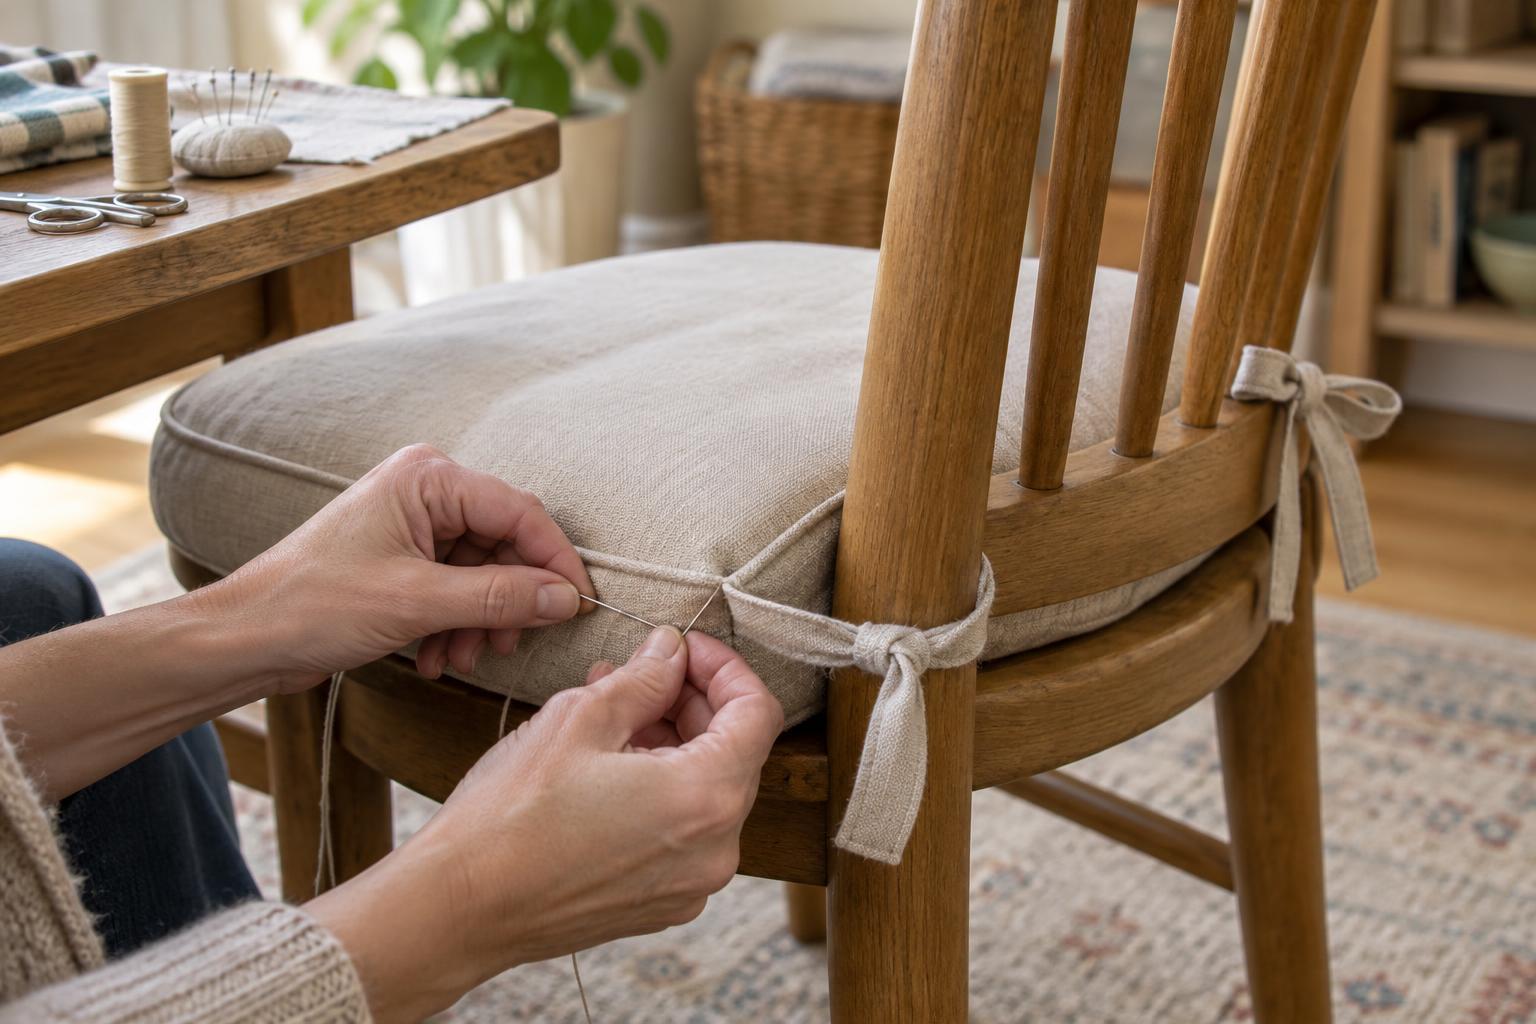
Position the tie where it was originally attached. If that spot is weakened, move it only a little onto sound fabric; moving it too far may make the cushion sit unevenly. Fold under any raw end of the tie and pin it in place. Thread the needle with a manageable length of thread and knot the end. Working through the tie and sturdy cushion fabric, make several small stitches across the tie’s width.
For a flat tie, stitch a small rectangle around its end, then add a few stitches across the middle. This spreads the pull over more fabric than a single line of stitching. Keep the stitches snug without gathering the cushion corner. If you are sewing through a patched area, catch the patch in your stitches where possible. Finish with several small securing stitches on the inside or underside, and trim the thread tail.
Check the repair before regular use
Give the tie a gentle pull in the direction it will be used. If the fabric puckers sharply, the stitching shifts or the patch lifts, add reinforcement before putting the cushion back. Tie the cushion to the chair with enough slack for someone to sit down without pulling the ties taut. A bow is easier to undo for cleaning than a tight knot, which may tempt you to tug on the repaired end.
If a tie repeatedly comes loose, look beyond the stitching. A cushion that is too small for the seat may slide and pull against its ties, while ties placed far from the chair’s attachment points may sit under constant tension. Repositioning the cushion or adjusting how loosely it is tied may help the repair last longer.
Refresh a worn pair of ties
Sometimes one loose tie reveals that both are worn. If the fabric is thin, frayed along its length or too short to fasten comfortably after trimming, replacing the pair may give a neater result. Choose a soft but sturdy woven tape or make matching fabric ties. Cut both to the same length, fold under their raw ends and sew them to sound areas of the cushion using the reinforced stitching method.
Aim for ties that hold the cushion in place rather than carry its weight. When removing the cushion for cleaning, undo the bows instead of pulling the cushion free. That small habit reduces strain on the attachment points and makes future repairs less likely.