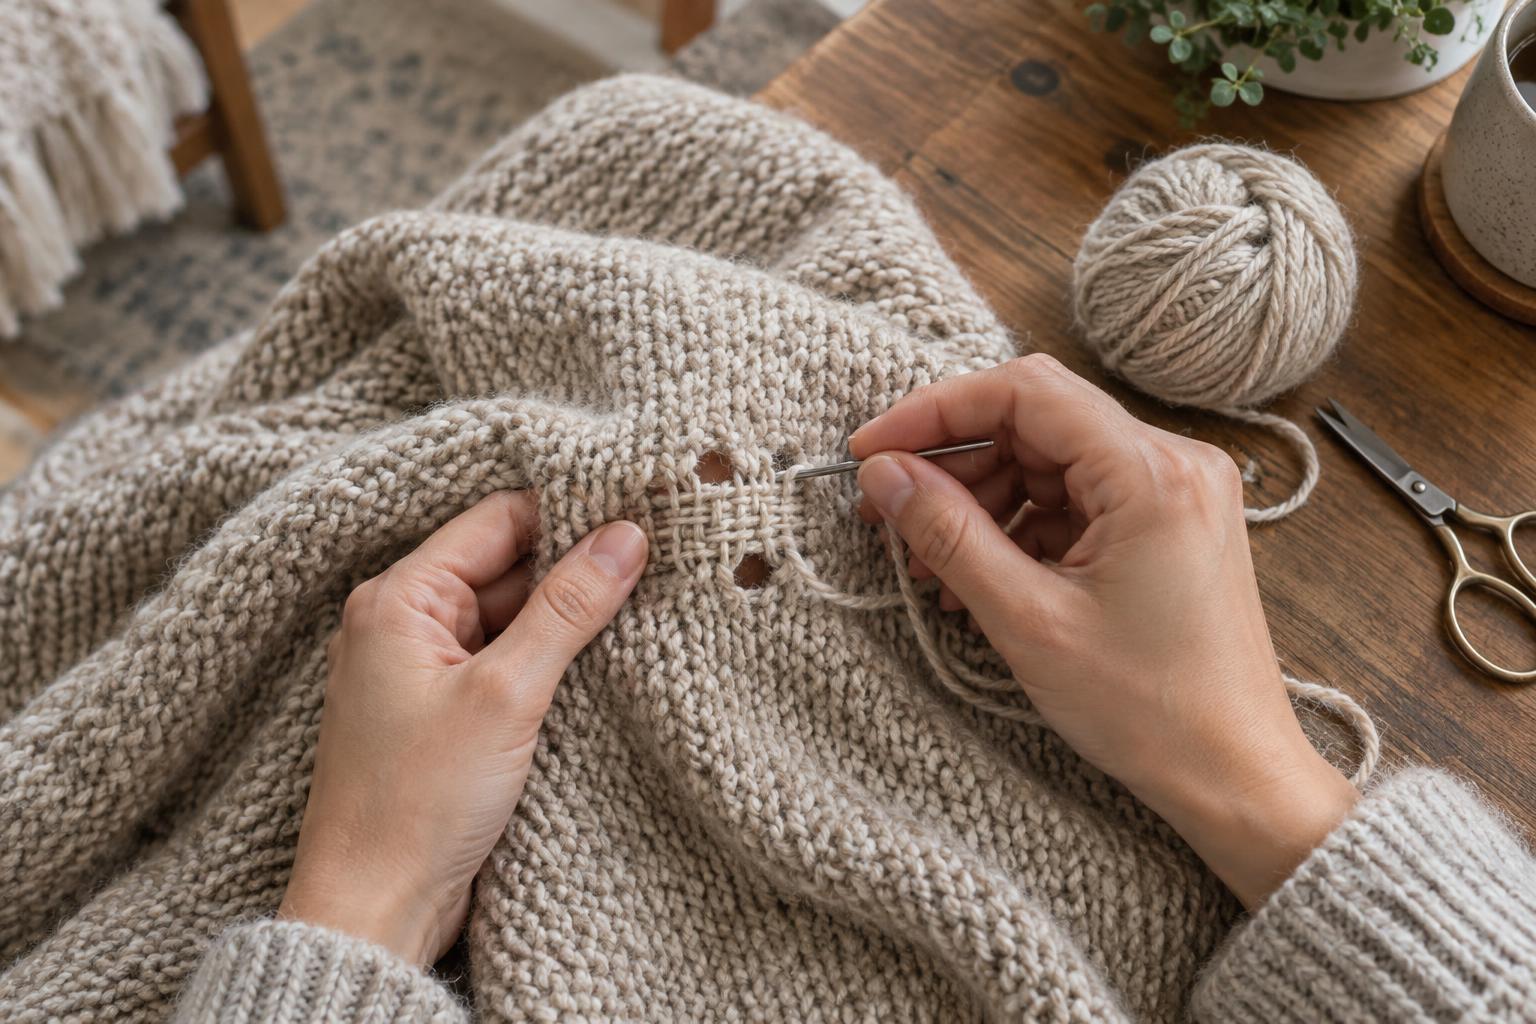
Check what has split
A seam can open when its stitches break, leaving two intact fabric edges that can be joined again. Before reaching for a needle, look closely at the opening. If the old thread has snapped but the fabric beside it is firm, a straightforward seam repair may be enough. If the fabric is frayed, torn or thin, sewing along the original line may pull out again. That area may need reinforcement with a small fabric patch on the inside.
Check how the cover is made, too. A split along a plain side seam is usually easier to repair than one beside piping, a zipper or a thick corner. Gently compare the open area with an intact part of the same seam to see where the original stitching ran and how much fabric is available behind it. Avoid tugging on the gap while you inspect it.
Gather supplies and prepare the cover
For a hand repair, gather a needle, strong all-purpose thread in a color close to the cover, small scissors and a few pins or sewing clips. A thimble can help with dense fabric. If the cover is removable, take out the cushion insert and turn the cover inside out when possible. This makes the seam allowance easier to reach and prevents you from accidentally stitching the insert to the cover.
Trim loose thread ends, but leave sound stitching in place. If the fabric needs cleaning, follow its care label and let it dry fully before sewing. Align the two edges so the cover keeps its original shape. Fold any loose seam allowances inward to match the surrounding seam, then pin or clip the layers without stretching them. For a split near a corner, check that the corner still lines up before you begin.
Sew the seam closed
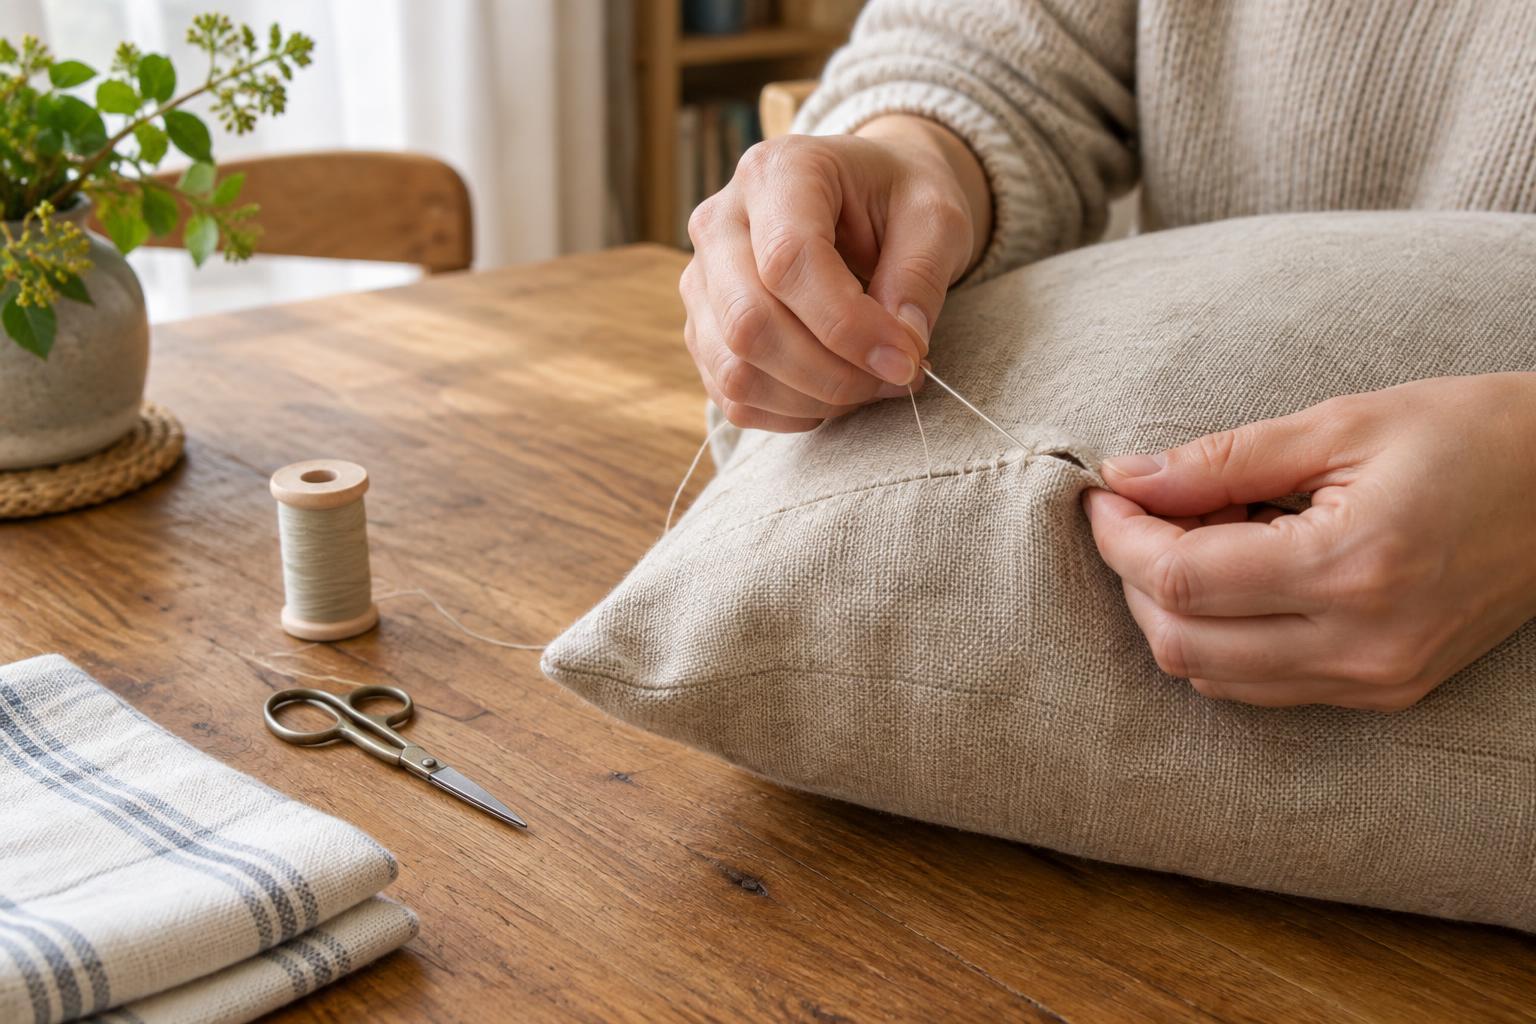
If you can reach the inside of the cover, sew along the original seam line with small, even backstitches. Start a short distance before the gap, where the existing stitches are secure. Bring the needle forward through both layers, then take the next stitch slightly backward into the previous stitch line. Continue across the opening and a short distance beyond it. This overlap helps connect the new stitching to the old seam. Keep the thread snug without pulling so hard that the fabric puckers.
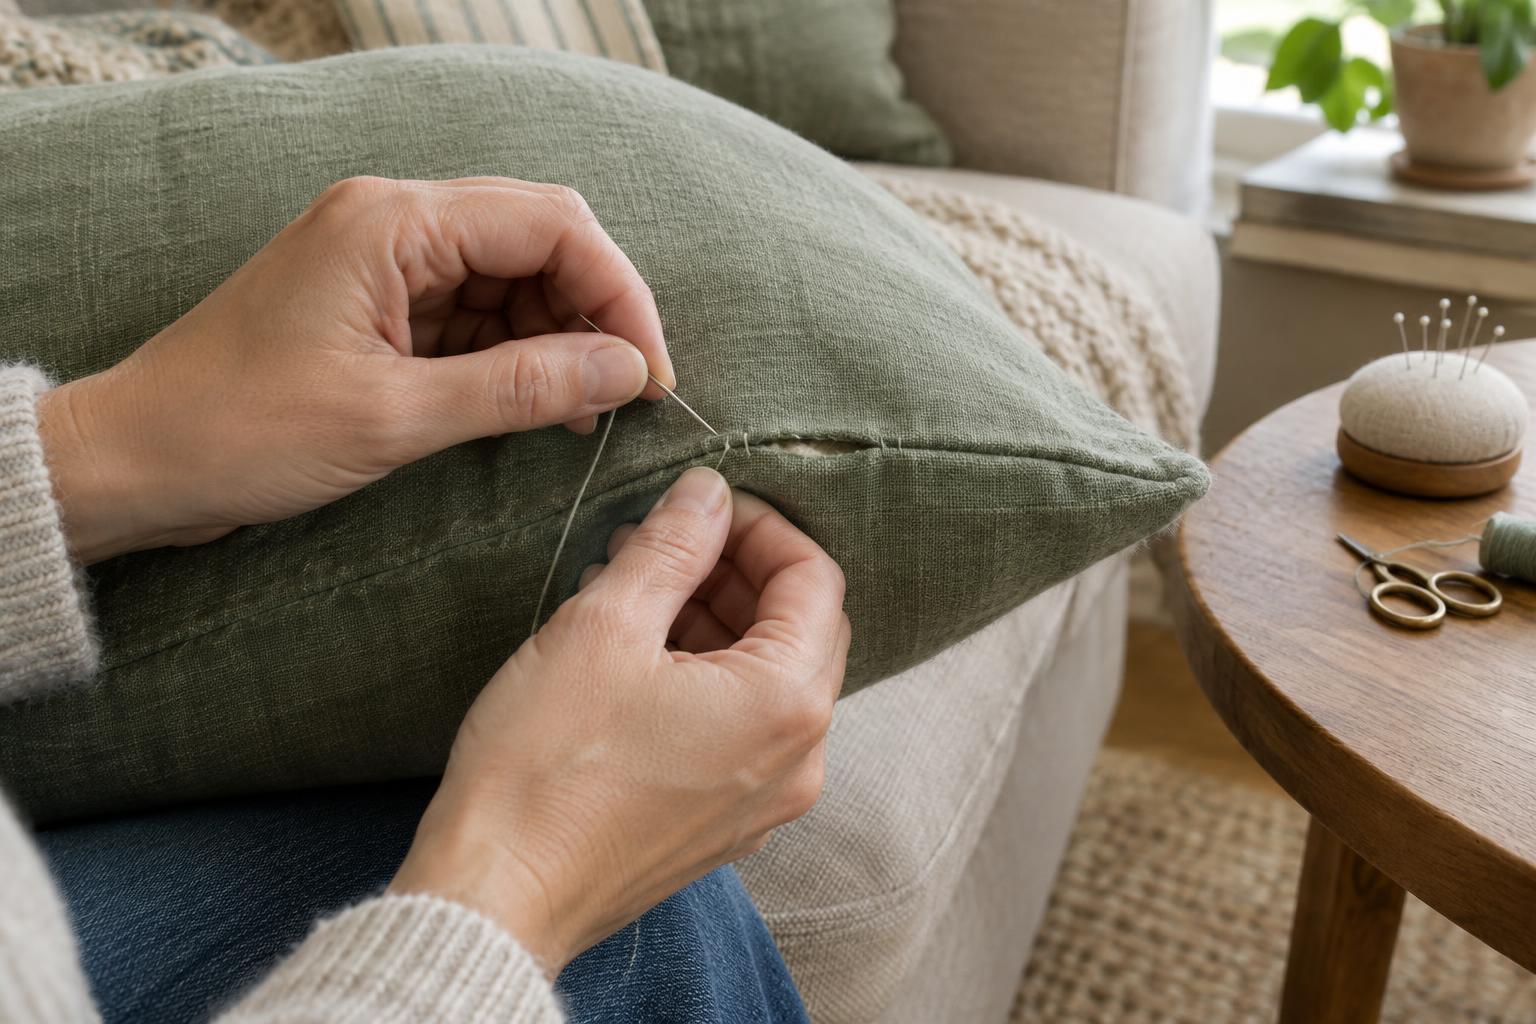
If you cannot turn the cover inside out, a ladder stitch can close the opening from the outside. Knot the thread and hide the knot inside the seam. Take a small stitch in the fold on one side, then a similar stitch directly opposite in the other fold. Repeat, alternating sides. After several stitches, gently draw the thread until the edges meet. The stitches should sit mostly within the folds rather than crossing visibly over the fabric.
Finish with a secure knot tucked into the seam allowance or fold, then trim the thread. Check the front of the cover before declaring the repair done. If the fabric puckers, the stitches may be too tight; if the gap still shows, the edges may not be aligned. It is easier to redo a few stitches now than to leave tension concentrated at one end of the opening.
Handle weak fabric, piping and zippers
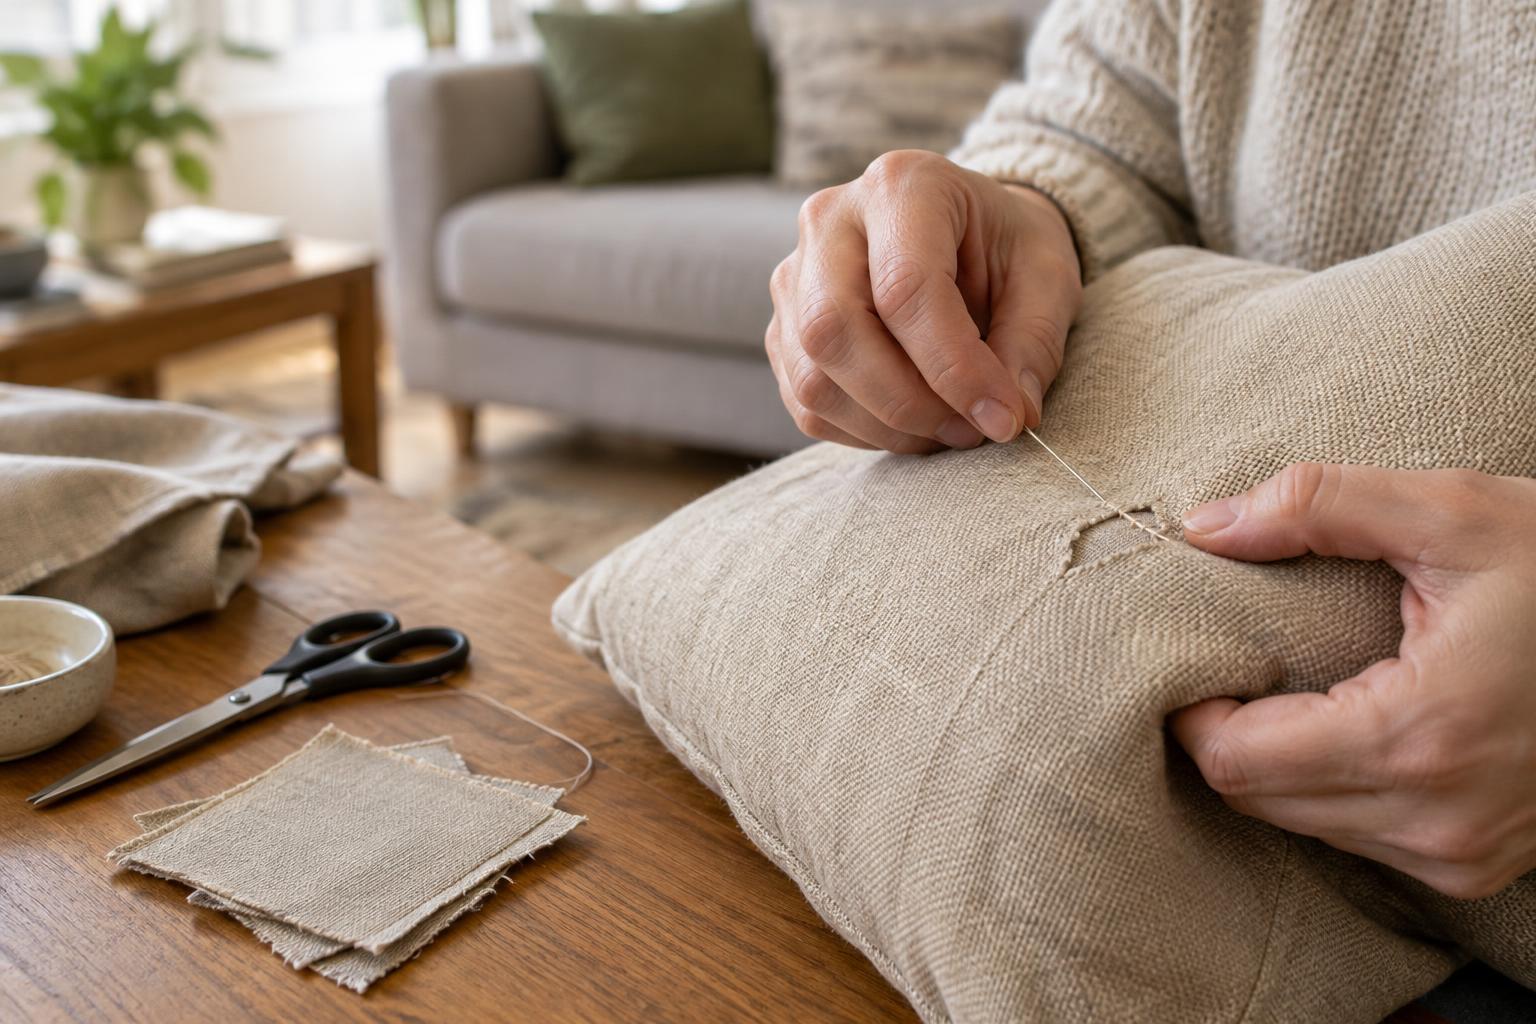
When the fabric beside the seam is weak, place a small piece of compatible fabric behind the damaged area and stitch through it as you close the seam. The patch should extend beyond the weak spot so the new stitches have firmer material to hold. Keep it flat to avoid a lump you can feel through the cushion. For a visible tear extending into the face of the cover, a simple seam repair may not hide the damage; a larger patch or a different decorative repair may be more suitable.
Around piping or a zipper, work slowly and follow the construction that is already there. Catch the piping tape or zipper tape in the seam without sewing into the cord or across the zipper teeth. Test the zipper before putting the insert back. If several layers are too thick to pass a needle through comfortably, do not force it; a heavier needle or a machine suited to the fabric may make the job easier.
Put the cushion back and watch for strain
Turn the cover right side out and ease the insert back in, guiding its corners into place rather than pushing hard against the repaired seam. Smooth the cover and check that the new stitching lies flat when the cushion is filled. If the seam opens again quickly, the insert may be putting too much pressure on the cover, or the fabric may be weaker than it first appeared.
A repaired seam benefits from gentler handling. Open removable covers fully before taking inserts out, and avoid lifting a cushion by one edge of its cover. Periodically checking for loose stitches lets you make a small repair before the opening grows.