Decide what needs to match
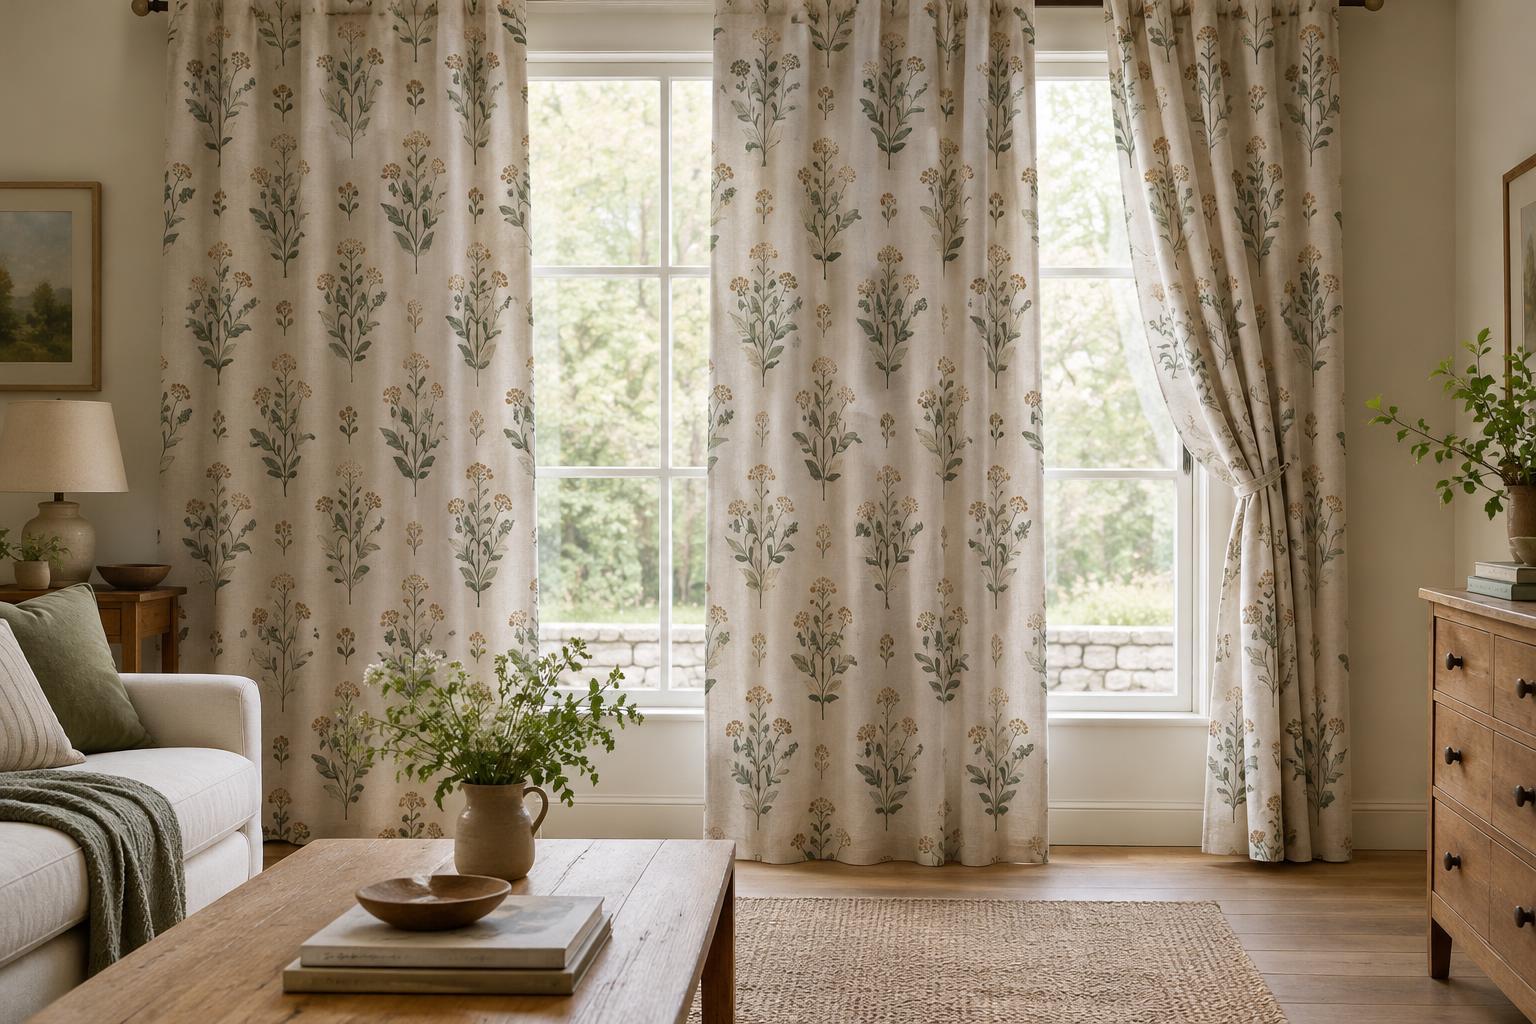
Matching patterned curtains is not always about making every edge identical. The aim is usually to give panels that hang together a deliberate, balanced appearance. Start by looking at the window as a whole: how many panels will there be, where will they meet when closed, and which parts of the fabric will be most visible when the curtains are open?
A bold stripe, check or large motif makes differences easy to notice, especially at the centre opening. A small, scattered print may need less exact alignment. Decide whether the priority is a level motif across all panels, a mirrored appearance on either side of the window, or a match where two fabric widths are joined within one panel. These are related but distinct goals. Write down the one that matters most before planning your cuts.
Find the repeat and check the fabric
Lay the fabric flat and identify one recognisable point in the design, such as the top of a flower or a horizontal stripe. Find the next identical point directly above or below it. The distance between them is the vertical pattern repeat. For a fabric made of joined widths, also inspect how the design repeats from side to side. A print that looks regular at a glance may have an offset repeat, where the motif in the next column sits at a different height.
Check which way the design runs and whether the fabric has a clear top and bottom. Look at several areas rather than relying on the first repeat you see. Printed motifs can vary slightly, and woven cloth may shift as it relaxes. If the fabric has a nap or directional sheen, keep every length oriented the same way. Mark the right side and top of each planned piece with removable labels or notes on the selvedge, not permanent marks on the visible fabric.
Plan the cut lengths before cutting
Work out the finished drop for each curtain, then add the fabric needed for the heading and hem according to the construction method you have chosen. This gives the basic cut length, but patterned fabric may require more. To place the same motif at the top of every panel, each length must begin at the corresponding point in the repeat. You may need to move past usable fabric to reach that point for the next cut.
Draw a simple cutting plan showing every panel and any extra widths that will be joined to make a panel. Mark the chosen motif at the heading line and, if important, where it will fall near the finished hem. If you are buying fabric, calculate from that plan rather than multiplying the basic cut length by the number of panels. Leave room for adjustments and check the usable fabric width: the printed pattern may not extend cleanly into both selvedges.
Align panels and joins on a flat surface
Before cutting, spread out the fabric without stretching it. Use the same motif as a reference for every panel and measure from that point to the planned heading line. Make small marks in seam or hem allowances and label each piece by its position at the window. Cut one length at a time, then compare it with the next before committing to the cut. This is particularly helpful when a large motif makes it hard to judge alignment from measurements alone.
If a curtain panel needs more than one fabric width, arrange the widths side by side as they will appear after sewing. Match the design along the intended seam line, not just at the raw edges; seam allowances will disappear inside the join. Pin at several motifs along the seam and check that the fabric lies flat between them. Some patterns cannot align perfectly from top to bottom because of slight printing or weaving variations. In that case, favour the most visible area and avoid forcing one edge out of shape.
Check the effect at the window
Pattern placement can look different once curtains are pleated or gathered. Lay the prepared pieces out in window order and fold a little fabric where the heading will draw it in. Check the centre meeting edges, the height of prominent motifs and the balance between left and right. For paired curtains, using the same starting point in the repeat often looks more harmonious than trying to create a perfect mirror image from a design that was not printed symmetrically.
Before sewing the final hems, hang the curtains if possible and let the fabric settle. Confirm that the panels finish at the intended height and that any horizontal lines look level. A careful plan will not make every fold show an identical piece of the print, but it will keep visible motifs from appearing accidentally misaligned. When an exact match is impractical, consistent orientation and a considered centre opening are good priorities.