Start with the pieces you will cover
A useful yardage estimate begins with a list of fabric pieces, not just the overall size of the furniture. A simple dining-chair seat may need one piece that wraps beneath the seat board. A loose cushion may need a top, a bottom, and a long strip around its edge, often called boxing. Sketch each piece as a rectangle and note how many of each you need.
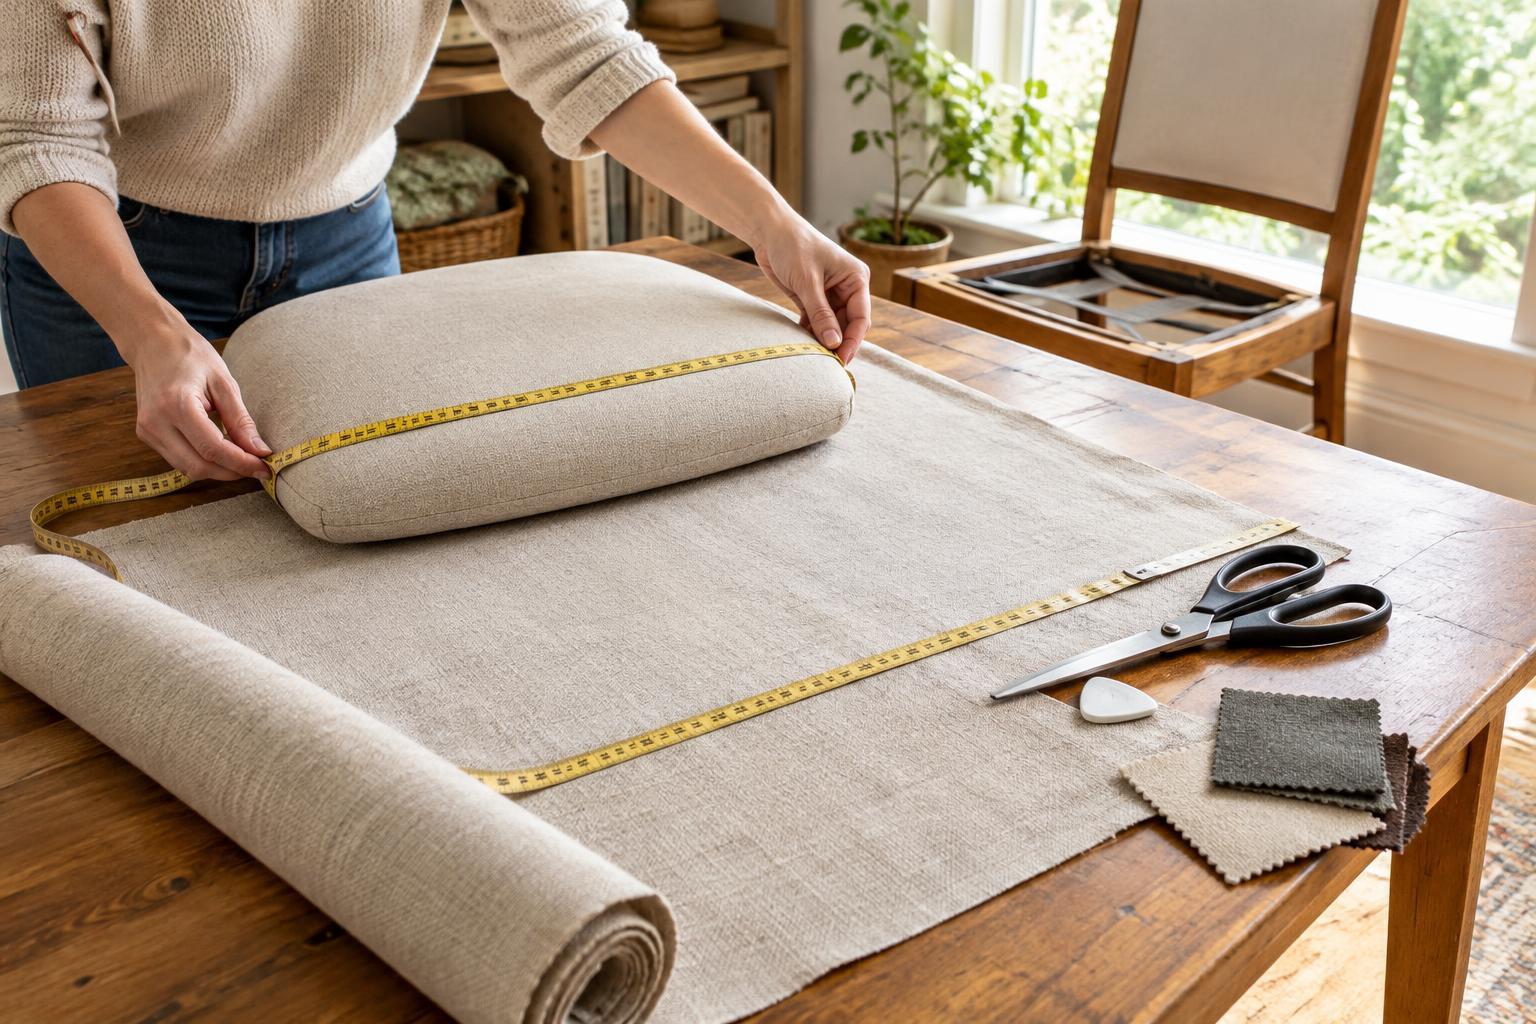
Measure the surface at its widest and longest points. For a seat board, measure along any curves rather than guessing from the visible area alone. If you can remove the old cover without stretching or tearing it, you can also use it as a guide. Check its dimensions against the seat, since old fabric may have been trimmed unevenly.
Add fabric for the edges
Your cutting dimensions must include material that will not be visible when the project is finished. For a stapled seat, add enough on every side to reach around the edge and provide a comfortable area to grip and staple underneath. A thick seat or deep padding needs more wrap than a thin board. If the underside has an awkward shape, test the proposed cutting size with paper or inexpensive cloth before cutting your chosen fabric.
For sewn pieces, add seam allowance to every edge that will be stitched. If you plan a half-inch seam, a rectangular cushion panel generally needs an extra inch in both length and width: half an inch on each side. Measure boxing separately, allowing for its finished depth, seam allowances along both long edges, and joins between strips. Piping, skirts, and covered buttons also use fabric and should appear on your piece list.
Make a cutting layout across the fabric width
Upholstery fabric is sold by length, but its usable width determines how efficiently you can arrange the pieces. Check the width of the fabric you intend to buy; do not assume every roll is the same. Allow for any unusable selvage at the edges, then draw a scaled rectangle representing that usable width. Arrange your measured pieces inside it and add up the length of fabric the layout occupies. Divide that length in inches by 36 to convert it to yards.
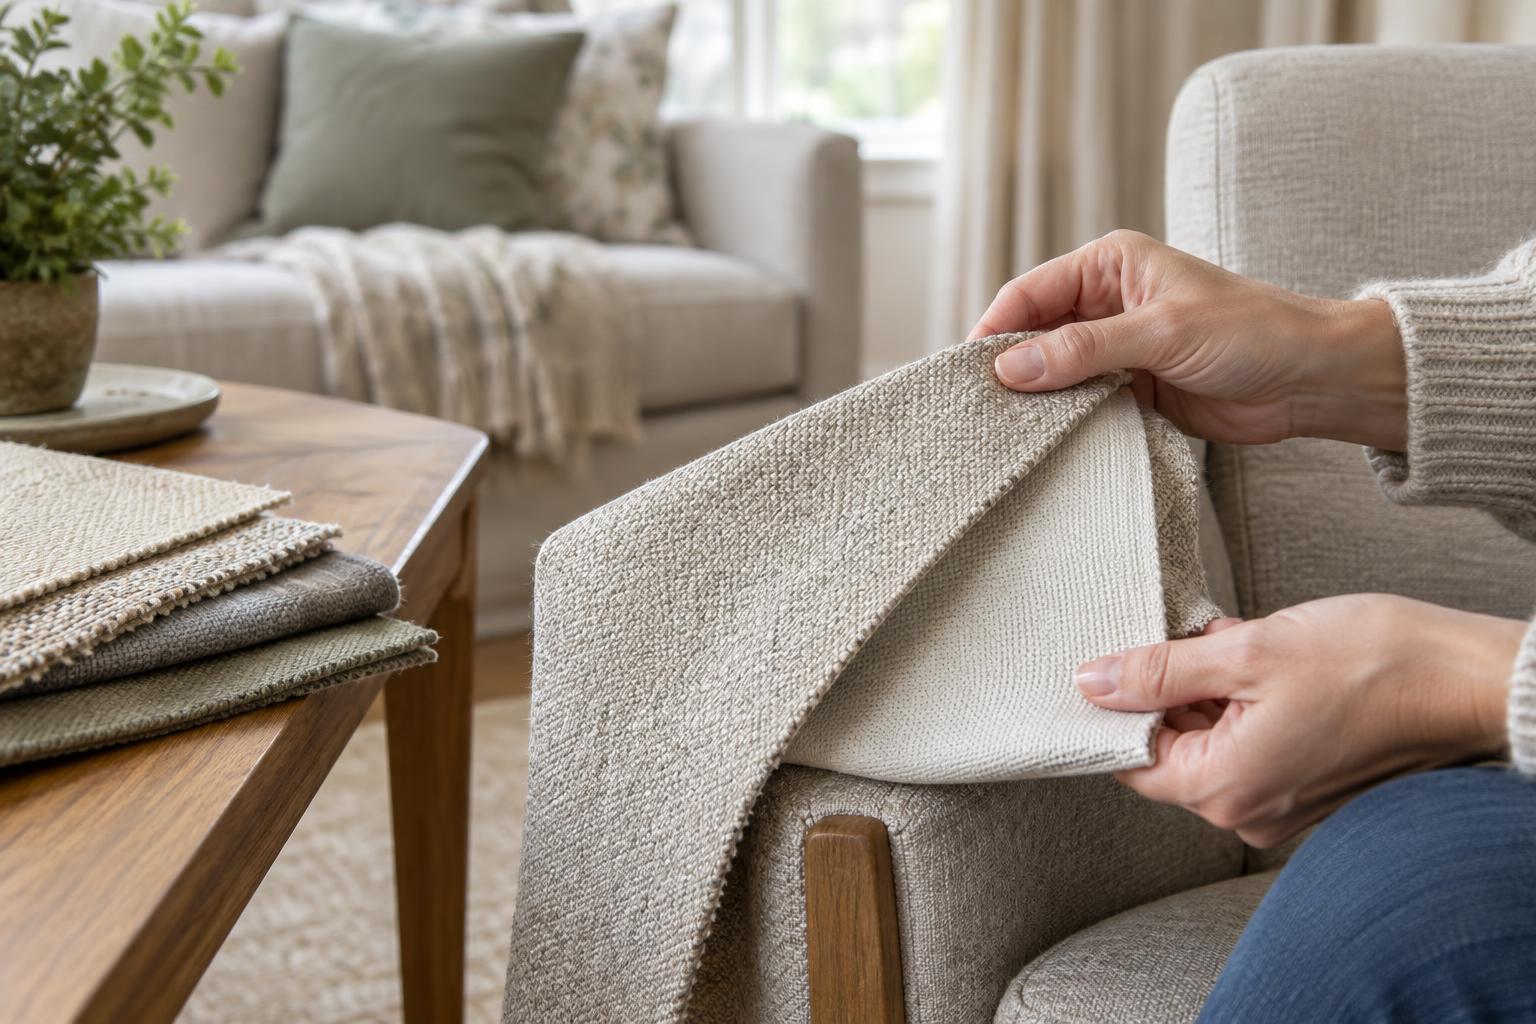
Keep the fabric’s direction in mind as you draw. A directional print should face the same way on every seat. A fabric with a nap, such as velvet, can look different when one piece is turned upside down. Turning a rectangle sideways might save fabric on paper, but it may not be suitable for the actual material. Label the front and grain direction of each piece on your sketch so the layout is useful when you cut.
Work through a simple seat example
Suppose you are covering four removable dining-chair seats. Each seat surface measures 20 inches wide by 19 inches deep. After testing how far the fabric must wrap underneath, you decide to add 3 inches on every side. Each seat therefore needs a piece measuring 26 by 25 inches. If the fabric has 54 inches of usable width and no directional pattern, two 26-inch pieces can sit side by side. Two rows, each 25 inches long, use 50 inches of fabric, or about 1.4 yards.
That figure is a cutting-layout minimum, not necessarily the amount to buy. Adding 20 percent brings it to roughly 60 inches, or about 1.7 yards; if the fabric is sold in half-yard increments, you would buy 2 yards. Your estimate may change if the usable width is narrower, the seats need more wrap, or the pieces must line up with a pattern. Confirm those details before ordering.
Allow for pattern matching and a sensible margin
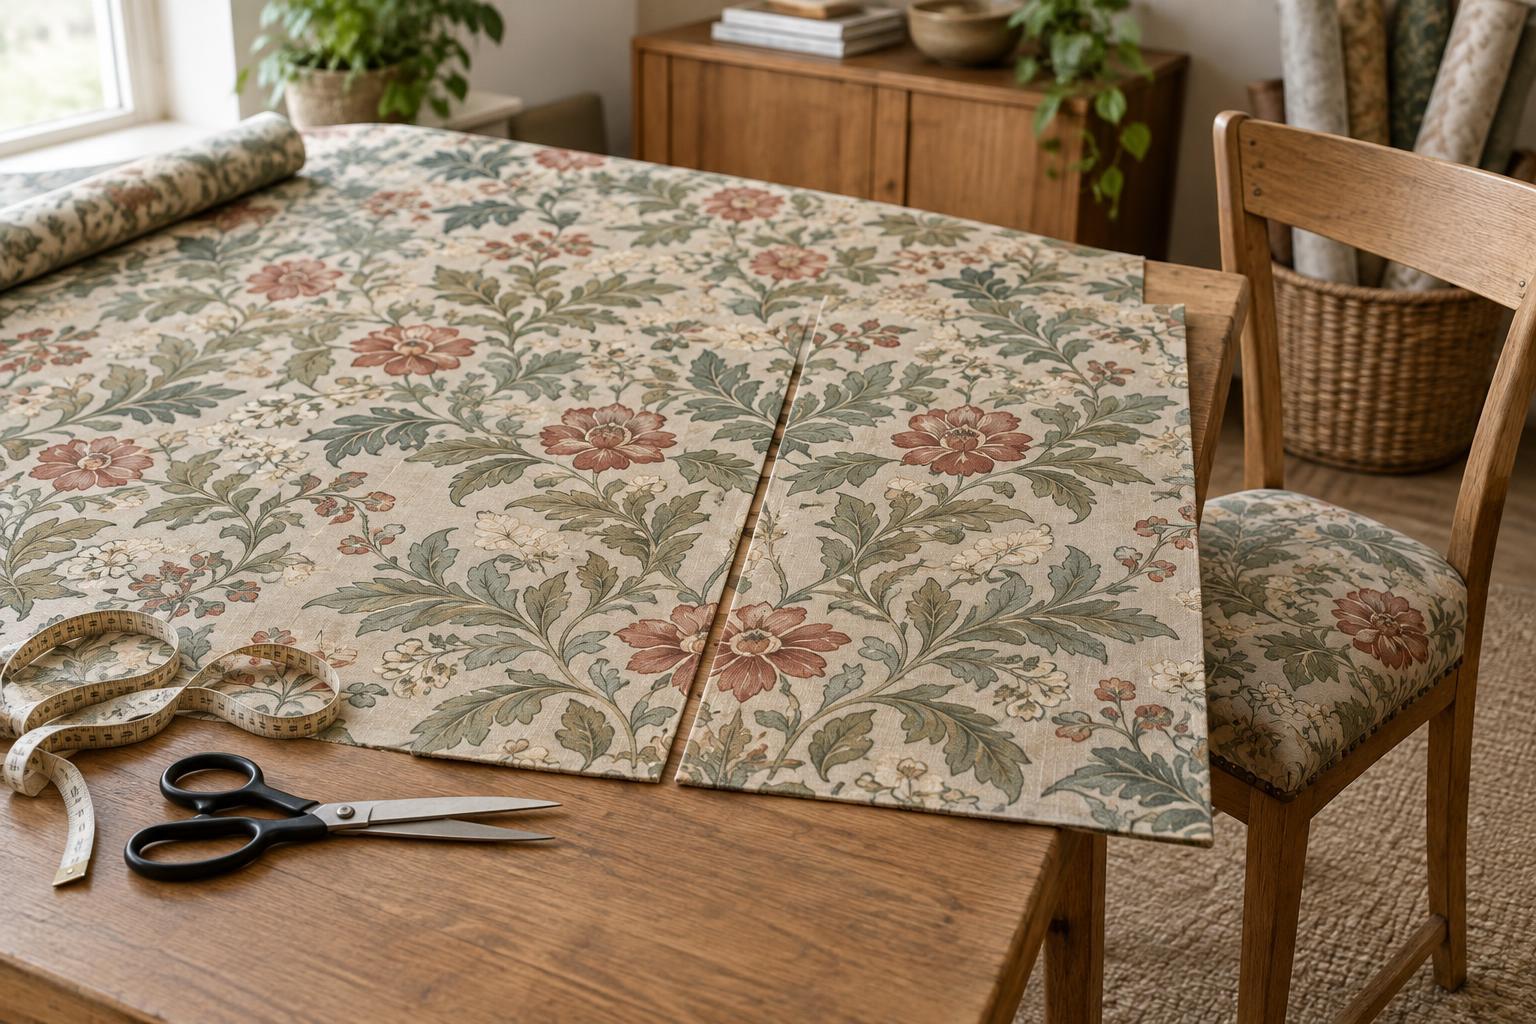
Stripes, checks, and large motifs can require more fabric than a plain weave. You may want the same part of the design centered on every seat, which limits where each piece can be cut. Check the pattern repeat, then redraw the layout with the design positioned as you want it. If matching is important and the layout is tight, a paper template placed over a sketch of the repeat can make the extra length easier to see.
Finally, leave a margin for small measuring or cutting errors and for fabric that needs to be squared at the cut end. A simple, nondirectional project may need only a modest allowance; matching a prominent pattern can require substantially more. Keep your measurements, cutting sketch, and fabric details together. They turn a rough guess into an estimate you can check—and make it easier to spot a missing piece before the scissors come out.